Part I - Installing and setting up the CLI and Magnolia
In the first part of this tutorial, you install the CLI and use it to set up Magnolia. You also create a prototype variant to later create a light module.
Installing Magnolia through npm CLI
This page explains how you can use npm CLI to install the Community Edition of Magnolia.
Prerequisites
Get Java
Magnolia needs at least a Java Runtime Environment (JRE) to run.
Check if there’s a version of Java already installed on your computer by opening the terminal or command prompt and typing java -version.
If the system reports a version number, Java is installed on your computer.
| See Certified stack page to confirm that the version installed is supported. |
On Windows, you need a Java SE Development Kit (JDK). The Java Runtime Environment (JRE) is not enough because the Tomcat application server does not recognize it.
-
JRE is for users who run Java programs on their computers.
-
JDK is for developers who write Java-based applications.
Download and install JDK.
By default, JDK is installed at C:\Program Files\Java\jdk-<version>\.
| Instructions | |||
|---|---|---|---|
Check for |
|
||
Set |
The |
For Mac, you need to download or update to Java 11 or higher.
After reviewing and agreeing to the terms of the license agreement, download the file, then double-click it to launch the installation wizard and follow the installation instructions.
The installation directory varies from one Linux system to another.
On Debian-based distributions, JREs or JDKs are usually installed in /usr/lib/jvm/.
Get nodejs and npm
Magnolia CLI runs on Node.js and npm, the Node.js package manager. Use the following two shell commands to check that you have both of them installed:
node -v
npm -v
If you do not have Node.js installed, go to Node.js, download and install the latest LTS version.
For installation instructions of npm, see https://docs.npmjs.com/downloading-and-installing-node-js-and-npm.
Get Magnolia CLI
Run the following command in a shell to install Magnolia CLI:
| 1 | Depending on your permissions and the location where you have installed
Node.js, you may have to execute the command above with root
permissions. Without installation permissions you will notice messages
such as npm ERR! in the shell. |
If the installation is successful, you see the following or a similar output in the shell:
/usr/bin/mgnl -> /usr/lib/node_modules/@magnolia/cli/bin/mgnl.js

> spawn-sync@1.0.15 postinstall /usr/lib/node_modules/@magnolia/cli/node_modules/spawn-sync
> node postinstall

+ @magnolia/cli@2.2.0
added 209 packages in 11.40
Once you have installed Magnolia CLI, test the installation by running the following command in the shell:
mgnl helpUsage: mgnl <command> [options] A tool to setup and facilitate light development with Magnolia CMS Options: -v, --version output the version number -h, --help output usage information Commands: jumpstart download and setup a Magnolia CMS instance for development. start start up a Magnolia CMS instance. To stop it, enter CTRL-C add-availability add component availability. build scan a node_modules folder for npm packages with the keyword "magnolia-light-module" (in package.json) and extract them to a directory of choice. create-app create an app. create-block create a block. create-component create a component and optionally add availability for it. create-content-type create a content type. create-light-module create a light module. create-page create a page template. create-virtual-uri create a virtual uri mapping. customize-local-config extract "mgnl-cli-prototypes" folder and "mgnl-cli.json" file to customize CLI configuration. install install a light module from npm to the local Magnolia instance. search search for a light module on npm. tab-completion install tab autocomplete feature for Bash, zsh or PowerShell version display mgnl and node.js versions help [cmd] display help for [cmd] mgnl: 3.1.0 node: v8.10.0 os: linux
Downloading Magnolia
Let’s assume that the directory where you intend to download and install
Magnolia is called magnolia.
-
Change to this directory and open a shell.
-
Enter the following command, where with
<version>you may specify the Magnolia release you wish to download.
(If you don’t specify the version and run the command without the-mswitch, CLI will download version6.2.44, the latest release of the most recent Magnolia branch.mgnl jumpstart -m <version>The
jumpstartcommand automatically creates a light modules directory for you in the current folder. If you already have a different directory that you want to use for light modules, use the-poption with the jumpstart command to specify the path to your existing light modules folder. For example:mgnl jumpstart -p /Users/<username>/<shared-projects>/light-modules/ -
When prompted to choose a Magnolia bundle, enter
3for themagnolia-community-demo-webapp.
The jumpstart command:
-
Downloads the Magnolia bundle specified into the
magnoliadirectory. -
Creates a
light-modulesfolder in the directory. -
Changes the default value of the
magnolia.resources.dirconfiguration property from${magnolia.home}/modulesto/magnolia/light-modulesfor both the Author and the Public instances of Magnolia.
Once the setup operation is complete, you should see a message similar to this one:
info Magnolia has been successfully setup for light development!
info You can now open a new terminal tab or window and start it up with the CLI command 'mgnl start'
info Magnolia will be ready after a few seconds at localhost:8080/magnoliaAuthor. Username and password is superuser
The following files and folders are created:
dev/
├── apache-tomcat/
│ ├── bin/
│ ├── conf/
│ ├── lib/
│ ├── logs/
│ ├── temp/
│ └── webapps/
├── light-modules/
└── downloads/
Create your prototype
When you run create commands from the CLI, the new files are created
based on prototype files. So for example, if you want to create a new
page template then the basis for the template is specified by the
prototype. Essentially, the prototype is the copy-base for new
templates.
Global vs local
Prototypes can be global or local.
-
Global: The global configuration is created during the installation of the Magnolia CLI package. It will be used if no local configuration is found in the current directory or in its parent folders.
-
Local: The local configuration is created with the
customize-local-configcommand. This creates files in the directory where you execute the command. After creation, you can edit the config to suit your needs.
Prototype variants
Different prototype variants are available depending on what you are creating.
When executing the create-page and create-component commands you can
choose one of the prototype variants provided out-of-the-box.
If you don’t specify a prototype using the -P option, then the
_default is used.
Instead of using one of the prototypes provided, we will create our own variants. The easiest way of doing this is to copy and paste one of the existing prototype variants.
Create the local prototype configuration files
Create the local prototype configuration files by running the following CLI command in a shell:
mgnl customize-local-config
This command extracts the following items to your current folder:
|
A folder which contains the prototypes for template and dialog definitions and the README file. |
|
The configuration file defining the folders of the light module skeleton and some other things. |
The prototype files are located in the mgnl-cli-prototypes folder you
just extracted to your dev directory.
dev/mgnl-cli-prototypes/
├── README.md.tpl
├── block
│ ├── _default
│ │ ├── blocks
│ │ │ └── __name__.yaml
│ │ └── templates
│ │ └── blocks
│ │ ├── __name__.ftl
│ │ └── __name__.yaml
│ └── empty
│ ├── blocks
│ │ └── __name__.yaml
│ └── templates
│ └── blocks
│ ├── __name__.ftl
│ └── __name__.yaml
├── component
│ ├── _default
│ │ ├── dialogs
│ │ │ └── components
│ │ │ └── __name__.yaml
│ │ └── templates
│ │ └── components
│ │ ├── __name__.ftl
│ │ └── __name__.yaml
│ ├── empty
│ │ └── templates
│ │ └── components
│ │ ├── __name__.ftl
│ │ └── __name__.yaml
│ └── with-js-model
│ ├── dialogs
│ │ └── components
│ │ └── __name__.yaml
│ └── templates
│ └── components
│ ├── __name__.ftl
│ ├── __name__.js
│ └── __name__.yaml
├── light-module
│ ├── _default
│ │ ├── README.md
│ │ ├── decorations
│ │ ├── dialogs
│ │ │ ├── components
│ │ │ └── pages
│ │ ├── i18n
│ │ │ └── __name__-messages_en.properties
│ │ ├── includes
│ │ │ └── README.txt
│ │ ├── templates
│ │ │ ├── components
│ │ │ └── pages
│ │ └── webresources
│ └── comprehensive
│ ├── README.md
│ ├── apps
│ ├── blocks
│ ├── decorations
│ ├── dialogs
│ │ ├── components
│ │ └── pages
│ ├── i18n
│ │ └── __name__-messages_en.properties
│ ├── includes
│ │ └── README.txt
│ ├── messageViews
│ ├── restEndpoints
│ ├── templates
│ │ ├── components
│ │ └── pages
│ ├── themes
│ ├── virtualUriMappings
│ └── webresources
├── page
│ ├── _default
│ │ ├── dialogs
│ │ │ └── pages
│ │ │ └── __name__.yaml
│ │ └── templates
│ │ └── pages
│ │ ├── __name__.ftl
│ │ └── __name__.yaml
│ ├── empty
│ │ └── templates
│ │ └── pages
│ │ ├── __name__.ftl
│ │ └── __name__.yaml
│ └── with-js-model
│ ├── dialogs
│ │ └── pages
│ │ └── __name__.yaml
│ └── templates
│ └── pages
│ ├── __name__.ftl
│ ├── __name__.js
│ └── __name__.yaml
└── virtual-uri
    ├── _default
    │ └── virtualUriMappings
    │ └── __name__.yaml
    ├── empty
    │ └── virtualUriMappings
    │ └── __name__.yaml
    └── regexp
        └── virtualUriMappings
            └── __name__.yaml
Create your prototype variants
Now you create prototype variants for the create-page and
create-component commands based on the _default prototype you just
extracted.
To create a variant, copy and paste the existing default prototype:
-
For pages, in
dev/mgnl-cli-prototypes/page, copy the_defaultfolder and paste it at the same level. Rename your copy tomy-page-prototype. -
For components, in
dev/mgnl-cli-prototypes/component, copy the_defaultfolder and paste it at the same level. Rename your copy tomy-component-prototype.
dev/mgnl-cli-prototypes/
├── README.md.tpl
├── block
├── component
│ ├── _default
│ ├── empty
│ ├── my-component-prototype
│ ├── dialogs
│ ├── components
│ └── _name_.yaml
│ ├── templates
│ ├── components
│ ├── _name_.ftl
│ └── _name_.yaml
│ └── with-js-model
├── light-module
├── page
│ ├── _default
│ ├── empty
│ ├── my-page-prototype
│ ├── dialogs
│ ├── pages
│ └── _name_.yaml
│ ├── templates
│ ├── pages
│ ├── _name_.ftl
│ └── with-js-model
└── virtual-uri
Edit your variant files
Now you will edit your prototype files in your variant so that:
-
You add a CSS file to your page variant to generate a CSS and link it to pages you create later.
-
The
create-pagecommand creates a page template with just a title. -
The
create-componentcommand creates a component with just a title and a description.
Add a CSS file
In the mgnl-cli-prototypes/page/my-page-prototype/ folder,
create the following folders and file /webresources/css/name.css
mkdir -p webresources/css; touch $_/__name__.cssOpen name.css file and add the following content:
h1 {
    font-family: Helvetica; color: #2A3D00;
}
body {
    background-color: #F5F8EA;
}
Edit the my-page-prototype variant
In the
mgnl-cli-prototypes/page/my-page-prototype/dialogs/pages
folder, open name.yaml and replace the definition with the
following reduced version that corresponds to a simple title field being
required when creating a page:
dev/mgnl-cli-prototypes/page/my-page-prototype/dialogs/pages/name.yaml
form:
  label: Page properties
  tabs:
    - name: tabMain
      label: __name__
      fields:
        - name: title
          class: info.magnolia.ui.form.field.definition.TextFieldDefinition
          i18n: true
          label: title
actions:
  commit:
    class: info.magnolia.ui.admincentral.dialog.action.SaveDialogActionDefinition
  cancel:
    class: info.magnolia.ui.admincentral.dialog.action.CancelDialogActionDefinition
In the
mgnl-cli-prototypes/page/my-page-prototype/templates/pages
folder, open name.ftl and replace the script with the following
reduced version:
dev/mgnl-cli-prototypes/page/my-page-prototype/templates/pages/name.ftl
<!DOCTYPE html>
<html xml:lang="${cmsfn.language()}" lang="${cmsfn.language()}">
  <head>
   <link rel="stylesheet" type="text/css" href="${ctx.contextPath}/.resources/__lightDevModuleFolder__/webresources/css/__name__.css" media="all" />
    [@cms.page /]
    <title>${content.windowTitle!content.title!}</title>
  </head>
  <body>
    <div class="container ">
      <h1>${content.windowTitle!content.title!}</h1>
    </div>
  </body>
</html>
Note that in line 4 you add a link to the CSS that uses variables
(lightDevModuleFolder and name.css) to generate part of the
path to the light module folder and the name of the CSS file.
Edit the my-component-prototype variant
Next, in the
mgnl-cli-prototypes/component/my-component-prototype/dialogs/components
folder, open name.yaml and replace the definition with the
following reduced version that corresponds to a component with a title
field and a description:
dev/mgnl-cli-prototypes/component/component/my-component-prototype/dialogs/component/name.yaml
form:
  label: __name__
  tabs:
    - name: tabMain
      label: Main
      fields:
        - name: title
          class: info.magnolia.ui.form.field.definition.TextFieldDefinition
          label: Title
        - name: desc
          class: info.magnolia.ui.form.field.definition.RichTextFieldDefinition
          label: Description
actions:
  commit:
    class: info.magnolia.ui.admincentral.dialog.action.SaveDialogActionDefinition
  cancel:
    class: info.magnolia.ui.admincentral.dialog.action.CancelDialogActionDefinition
In the
mgnl-cli-prototypes/component/my-component-prototype/templates/components
folder, open name.ftl and replace the script with the following
reduced version:
dev/mgnl-cli-prototypes/component/component/my-component-prototype/templates/component/name.ftl
<div class="__name__">
  [#if content.title?has_content]
    <h2>${content.title!}</h2>
  [/#if]
  [#if content.desc?has_content]
    ${cmsfn.decode(content).desc!}
  [/#if]
</div>
Start Magnolia with CLI
Go to the parent directory of the apache-tomcat directory and execute
the Magnolia CLI start command:
mgnl startWhen starting for the first time, Magnolia runs a web update and automatically installs all its modules.
Login
Go to http://localhost:8080/magnoliaAuthor and sign in as a superuser :
-
Username:
superuser -
Password:
superuser
Magnolia is ready to use and gives you a list of suggestions to get started.
Logging into the Author instance
Go to http://localhost:8080/magnoliaAuthor and log in to the Author instance as a superuser :
-
Username:
superuser -
Password:
superuser
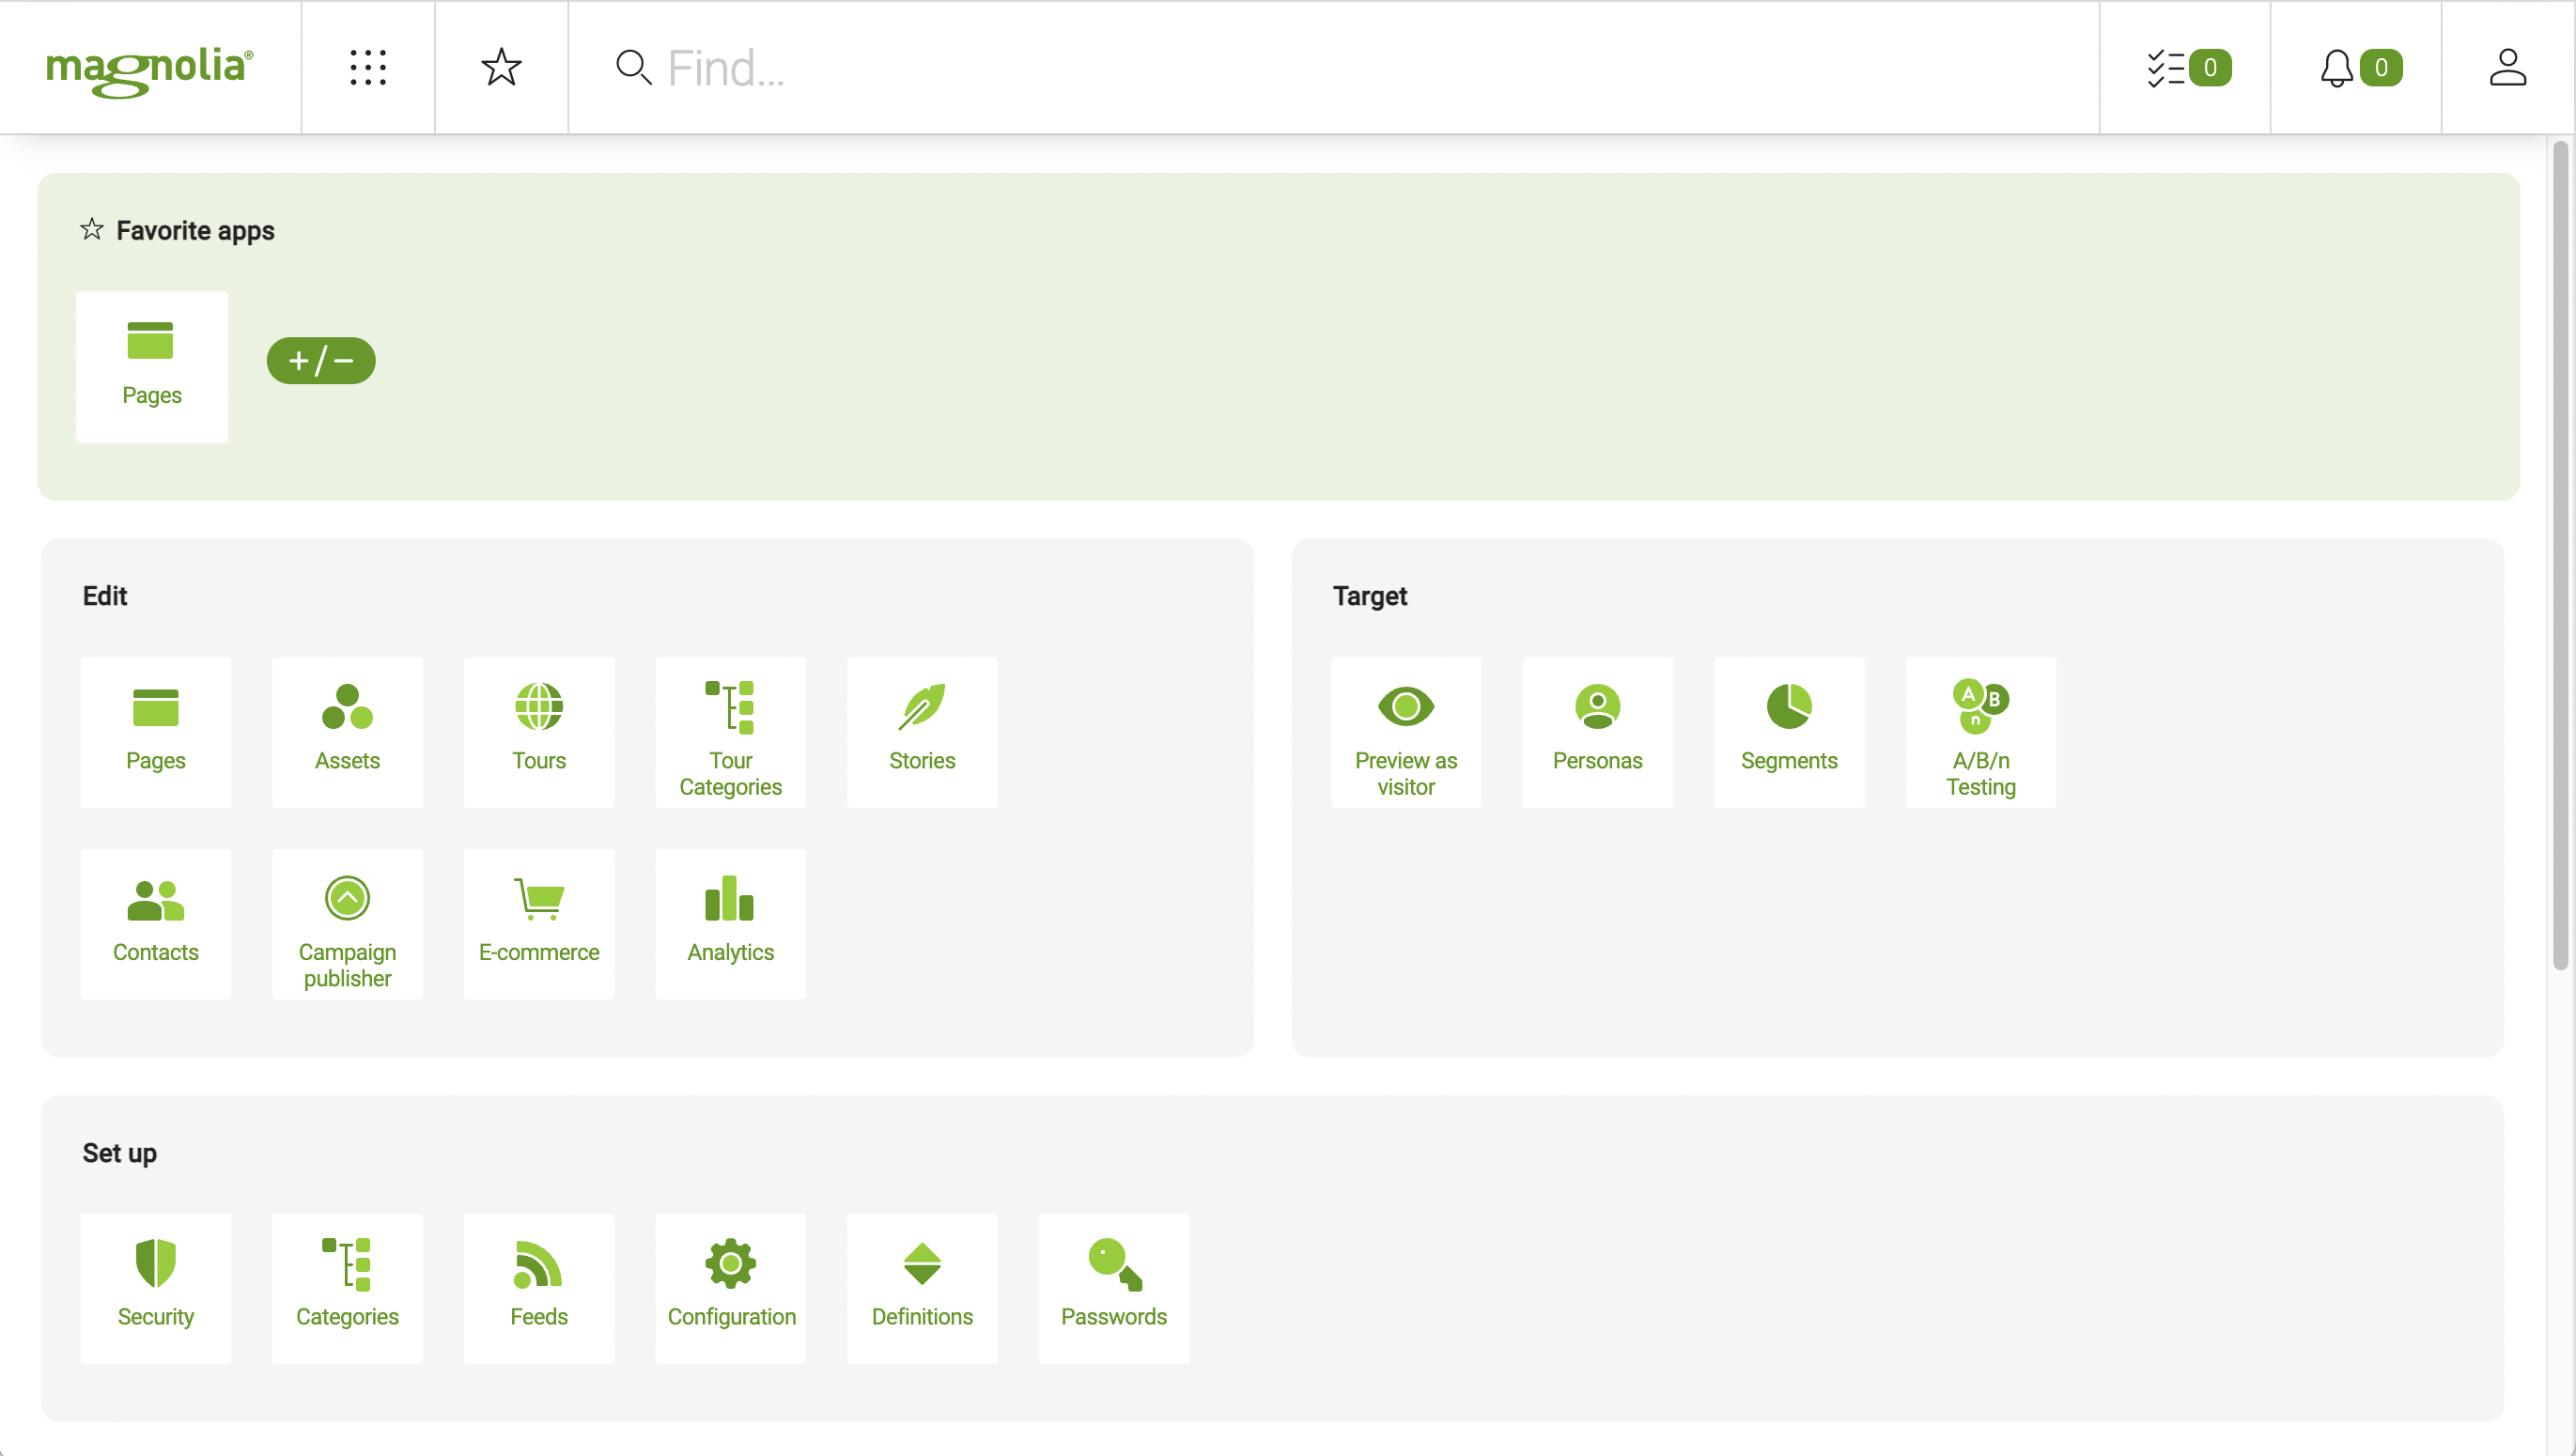
When you log in, the first page you see is the App Launcher, in which you can see groups of apps:
Congratulations. Magnolia is now installed and running.
- Next
- Related topics