Writing toolkit
For most of you contributing to Magnolia documentation, using plain text and some basic asciidoc suffices. However, it is still nice to have a place to refer to commonly-used asciidoc syntax within the documentation site as well as some of the more unique features we have developed specifically for our setup.

- This page contains
-
-
Basic asciidoc features
-
Advanced asciidoc features
-
Custom asciidoc features
-
| If you see something you need to use, just copy it directly from this page and into your text editor. |
Basic asciidoc
Level headings
Lists
See Asciidoctor’s lists for all possible options and more in-depth information.
Links
The link: call should be used for URLs outside of the documentation site. Cross references should be used for pages internal to the documentation site. See Cross references for more info on that.
Cross references
Cross references should be used for linking pages that are part of the documentation site. To link to an external URL, use Links.
- There are two types of cross references
Documentation site
Antora site-based cross references are vital for navigation purposes around the antora site.
|
To "future-proof" your cross reference, we recommend using the long-form as shown in numbers 2 and 3 below. |
Source
. xref:Releases.adoc[] (1)
. xref:product-docs:ROOT:Releases.adoc[] (2)
. xref:3.0.0@magnolia-sso:ROOT:index.adoc[] (3)
. See the xref:product-docs:ROOT:Administration/Certified-stack.adoc#_browsers[Browsers] section for more details. (4)
. See the latest xref:Releases.adoc[release] for more information. (5)| 1 | Specify the path to the file in the content repo. This is from within the same component and module. | ||
| 2 | Reference the same page from a different component or module. If there are multiple versions, this links to the latest page.
|
||
| 3 | Link to a specific version of a page.
|
||
| 4 | Link to a specific section in a page. Refer to sections with hyphens for spaces and the section name in lowecase like so: #_<section>. In this
case, the section is Browsers and hence, the reference is shown as _browsers. |
||
| 5 | Pass a label to fit your sentence structure. |
Images
Where would we be without visuals, am I right? Inserting images in asciidoc is about as easy as it gets.
Ensure you put the correct path from the images directory. Images are stored in images in the root of the associated repository where you are contributing.
|
Source
image:product-docs:ROOT:apps/ui-apps-configuration-server-version-index.png["Configuration server version index",role="zoom"] (1)| 1 | Adding the role=zoom option allows users to enlarge the image. |
image:product-docs:ROOT:apps/ui-apps-configuration.png["Apps configuration",role="zoom"]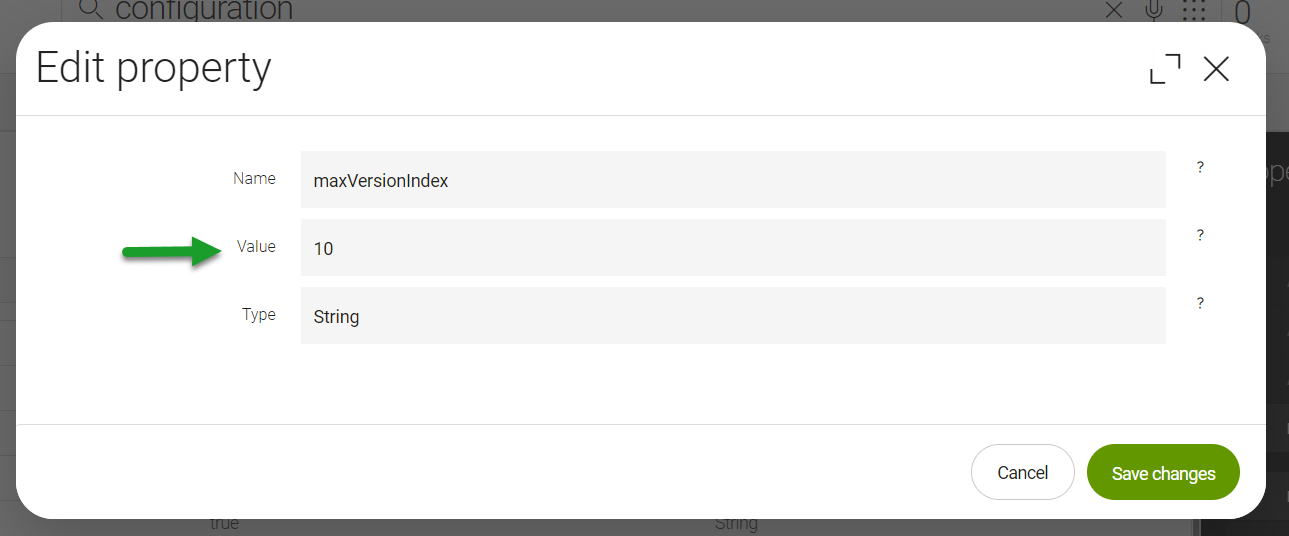
Standard admonition blocks
Admonition blocks help you highlight information and make sure that information stands out from the standard paragraph text.
| The fun examples below are directly from the antora site. |
NOTE: If you go into the basement, see if you can find Kenny's parka. (1)

TIP: After someone sticks a fork in a socket, reset the circuit in the scary basement. (2)

CAUTION: Don't stick forks in electric sockets. (3)

WARNING: Never go into the basement. (4)

IMPORTANT: A monster lives in the basement. (5)

// multi-line block properly (6)
[CAUTION]
====
Don't stick forks in electric sockets.

It won't end well for you.
====

// incorrect multi-line block (7)
[CAUTION]
Don't stick forks in electric sockets.

It won't end well for you.| 1 | Tells you information that is good to know. |
| 2 | Gives you helpful information but it’s not essential. |
| 3 | Lets you know to proceed with caution. |
| 4 | Lets you know that doing something here might break something else. |
| 5 | Important information, but sure go ahead and use your own intuition/intellect on it. |
| 6 | This multi-line block is done properly. |
| 7 | This multi-line block will break without the div. |
Output
| If you go into the basement, see if you can find Kenny’s parka. |
| After someone sticks a fork in a socket, you’ll need to reset the circuit in the breaker box in the dark and scary basement. |
| Don’t stick forks in electric sockets. |
| Never go into the basement. |
| A monster lives in the basement. |
|
Don’t stick forks in electric sockets. It won’t end well for you. |
| Don’t stick forks in electric sockets. |
It won’t end well for you.
Advanced asciidoc
Partials
Partials are reusable asciidoc pages. Typically, a partial should act as standalone content that when put together with other partials, create an assembly of information in a user story.
| For an example partial usage, see Include directives. |
Create a partial
To create a partial:
-
Navigate to the
partialsdirectory in the repository in which your working. -
Choose an appropriate topic folder for the partial. For example, if the topic is
cloud, create the parital in thecloudfolder. -
Create a new file and name it according to the following pattern:
-
Concept: conceptual information that describes what something is.
-
Procedure: procedural information that instructs the user on some task.
-
Reference: reference information such as parameters or fields.
-
| If you’re not 100% sure, contact someone on the doc team. |
Include directives
Include directives allow you to include other asciidoc files in a container page. This adheres to a modular documentation approach and allows the files to be used in multiple container pages where only one source needs to be updated.
|
Though you technically can include asciidoc files from the |
Source
include::product-docs:ROOT:partial$reference/example-test-include.adoc[leveloffset=+3] (1)| 1 | The partial$ portion of this directive calls the partial directory (where most include files reside). The reference/ refers to the directory and example-test-include.adoc is the page asciidoc file itself. leveloffset=+3 offsets the base heading level by three levels.
|
Tables
Tables are a great way to display information. There are a variety of options in asciidoc when using tables.
| See asciioc tables for more in-depth information. |
Source
[cols="3,7a"] (1)
|=== (2)
|Parameter|Description (3)

|`parameter`
| A nice wee description
|=== (4)| 1 | Set the columns. In this case 3 and 7 are percentages of 30% and 70%. The a allows for additional information in the column. |
| 2 | Set the start of the table. |
| 3 | The header row. If you do not want a header, put a space between the |=== and your row. |
| 4 | End the table. |
Output
| Parameter | Description |
|---|---|
|
A nice wee description |
|
Nesting and indentation of parameters To display the nesting level of the parameters, prefix each child parameter with an indentation tag such as
|
To disambiguate configuration parameters in example configurations, you can use the following Unicode characters as parameter prefixes, entered directly in edit mode (not through their Unicode codes):
-
📁 (Unicode character
U+1F4C1) for folders -
⸬ (Unicode character
U+2E2C) for nodes -
⬩ (Unicode character
U+2B29) for configurable properties
Example
[cols="45%,55%"]
|===
|📁 cache |
|{i1} 📁 config |
|{i2} 📁 contentCaching |
|{i3} ⸬ defaultPageCache |
|{i4} ⸬ cachePolicy |
|{i5} ⸬ cacheKeyGenerator |
|{i6} ⬩ useRequestParameters |false
|{i6} ⬩ class |info.magnolia.module.cache.cachekey.DefaultCacheKeyGenerator
|{i5} ⬩ class |info.magnolia.module.cache.cachepolicy.Default
|===
📁 cache |
|
📁 config |
|
📁 contentCaching |
|
⸬ defaultPageCache |
|
⸬ cachePolicy |
|
⸬ cacheKeyGenerator |
|
⬩ useRequestParameters |
false |
⬩ class |
info.magnolia.module.cache.cachekey.DefaultCacheKeyGenerator |
⬩ class |
info.magnolia.module.cache.cachepolicy.Default |
Quote blocks
Quote blocks contain, well, quotes. However, they can also be used to highlight important information. But, mostly, for quotes.
| See Asciidoctor’s block quote syntax for more details. |
Sidebar block
Sidebar blocks can be used to discuss important items within the context of external information.
| We tend to use them for related topics. |
.Related topics
****
* xref:product-docs:ROOT:Administration/Certified-stack.adoc[]
****Code
Write code samples either inline or via a block (where it can be copied).
| There are a good few options for including code from external files within code blocks. If you’re interested, check out more on code blocks with asciidoc on its dedicated page. |
Source
Pass the `-G` flag to install the feature globally.[source,java] (1)
----
class Meta{
    public static void main(String args[]){
     System.out.println("How friggin meta is this?");
    }
}
----| 1 | In this block header, java is a language alias that applies syntax highlighting to the rendered code block. You can use aliases for many other common languages, for example yml, xml, js, or bash. For a full list, see SUPPORTED_LANGUAGES.md. |
Tags
Tags let you wrap certain bits of content within an asciidoc page. Typically, you want to keep the usage of tags in partials.
| We wrap our Known issues in tags so they can be reused within individual modules. |
| See asciidoctor tags for more in-depth information. |
Source
- Open the tag with
tag::<name>[] -
// tag::known-issue[] - Place the content between the opening and closing tag
-
This issue is no big deal. It will be fixed shortly. - Close the tag with
end::<name>[] -
// end::known-issue[]

This issue is no big deal. It will be fixed shortly.
To call a tag via a partial, include::partial$partial-name.adoc[tags="<name>"].
|
Variables
Variables, or attributes, are exactly that. They are bits of information stored under an alias.
|
Variables return information verbatim with no formatting. If you want formatting, you need to format the variable when it is called and not the content as it is stored. |
Conditions
Conditions allow you to use single-source content in places where not all of the information is applicable.
| We recommend that only highly advanced users use conditional statements. |
Code callouts
Code callouts help you reference specific points of information in a code block.
| When someone copies your code sample, only the code itself is copied. No need to worry about callouts coming along to mess that up. |
Footnotes
Footnotes are useful for conveying information that isn’t necessarily immediately applicable to instructions or reference, but can help to provide context for some information for the user. You can use footnotes easily in asciidoc.
| See the official docs for more details. |
Source
You can see me at the bottom of the pagefootnote:[Josh Gibson hit nearly 1000 home runs in his career.]. (1)| 1 | Notice how "footnote" is appended to the word directly. |
Output
You can see me at the bottom of the page[1].
Overriding toc levels
A toclevel is the depth of level heading that is shown in the Table of Contents (TOC) on a given page. The default toclevel for our setup is 3 meaning that up to level heading 3 === is shown in the TOC.
In some instances, you may want to override the level to tidy up a page or to expand further what users see.
To do this:
-
Go to your desired page.
-
Under the title heading, insert the following:
= Title heading
:page-toclevels: N (1)
1 Where Nis the level heading depth you want to show in the TOC.
Custom asciidoc
Embedded diagrams
Instead of using external tools to create sequence diagrams, flowcharts, and other visuals, you can embed the source directly in the .adoc file.
| We use the asciidoctor-kroki extension as part of our antora playbook which enables this feature. If you do not have the asciidoctor-kroki extension locally or it is not included in your local playbook, you may not see the results. |
Instructions
An example is below, you simply need to wrap the diagram in a typical source block, but replace source with mermaid.
| Use a Live editor if you need help getting started. |
[mermaid]
----
flowchart TB
    A[[Repo]]
    B(pom.xml)
    C(README)
    subgraph src/main
        E(file.java)
        F(file.java)
    end
    subgraph docs
        G(file.adoc)
        H(file.adoc)
    end
    A-->B
    A-->C
    A-->E
    A-->F
    A-->G
    A-->H
----Icons
Use icons to add a bit of personality to the docs or to signal important or exciting items.
| See FontAwesome For a list of all available icons. |
Pass <N>x such as 2x to increase the icon size. There are limits to the size increase. See FontAwesome for more on this.
|
Tabs
Tabs are useful for toggling between information such as code blocks or multiple options.
| Tabs require an extension. |
Source
[tabs] (1)
==== (2)
version1-file:: (3)
+ (4)
-- (5)
.v1
[source,yaml]
----
configuration: was this way
----
-- (6)
version2-file::
+
--
.v2
[source,yaml]
----
configuration: is now this way
----
--
==== (7)| 1 | Call tabs. |
| 2 | Open the tab container with ====. |
| 3 | Set a tab with ::. |
| 4 | Add the +. |
| 5 | Set the tab boundary with --. |
| 6 | End a tab with --. |
| 7 | Close the tab container with ====. |
Custom admonition blocks
There are Standard admonition blocks that come out-of-the-box with asciidoc. However, we have two custom options for: