Customizing the Keycloak login page
To add a new button with a custom redirect link to Keycloak’s login page, you need to modify the template.ftl file in your custom theme.
The steps below provide a detailed guide on how to achieve this.
This guide is based on Keycloak version 21.1.0.
|
Creating a custom theme
-
Directory structure
-
Create a directory structure for your custom theme, as depicted below.
Directory structurekeycloak-theme/ ├── themes/ ├── custom-theme/ ├── login/ ├── template.ftl ├── messages_en.properties ├── theme.properties ├── resources/ ├── css/ ├── img/ ├── js/
-
-
Copying the default theme
-
You can find the default theme files in the Keycloak server distribution under
themes/keycloak/login. -
Copy the default theme files from the Keycloak distribution to your custom theme directory.
-
-
Editing the
template.ftlfile-
Open the
template.ftlfile in thecustom-theme/logindirectory. This file contains the HTML structure of the login page.
-
Modifying template.ftl to add a new button
-
Locating the
socialProviderssection-
Locate the
socialProviderssection of thetemplate.ftlfile where the form is defined.<#nested "socialProviders">
-
-
Adding the new button
-
Add a new button element below the
socialProviderssection. -
Extend the button to contain a redirect link to the JCR fallback login:
http://localhost:8080/magnoliaAuthor/.magnolia/jcrlogin. -
For example, you can add the following code.
<#nested "socialProviders">

<div id="kc-custom-providers" class="${properties.customAdditionalLoginSectionClass!}">
  <hr/>
  <h4>Or login in with</h4>

  <a id="magnolia-default-login" class="${properties.customAdditionalLoginButtonClass!}" type="button"
      href="http://localhost:8080/magnoliaAuthor/.magnolia/jcrlogin">
    <span>Magnolia ID</span>
  </a>
</div>

<#if displayInfo>
...
-
-
Adding new theme properties
-
Add some new properties to the
theme.propertiesfile that are used in the example code above.## Magnolia login customAdditionalLoginSectionClass=kc-social-section kc-social-gray customAdditionalLoginButtonClass=pf-c-button pf-m-control pf-m-block kc-social-item kc-social-gray
-
Configuring Keycloak to use the custom theme
-
Updating the container
-
Log into the container with its container ID.
docker exec -it <CONTAINER_ID> bin/bash -
Create a directory for your theme in the container.
mkdir /opt/keycloak/themes/custom-theme -
Copy the contents of the theme directory from your local machine to the new directory on the running container.
docker cp custom-theme/. <CONTAINER_ID>:/opt/keycloak/themes/custom-theme -
Restart the container.
docker restart <CONTAINER_ID>
-
-
Starting Keycloak
-
Start the Keycloak container with the updated configuration.
-
-
Setting the custom theme
-
Log into the Keycloak admin console.
-
Go to Realm Settings → Themes.
-
For the Login Theme dropdown, select
custom-theme. -
Save the changes.
-
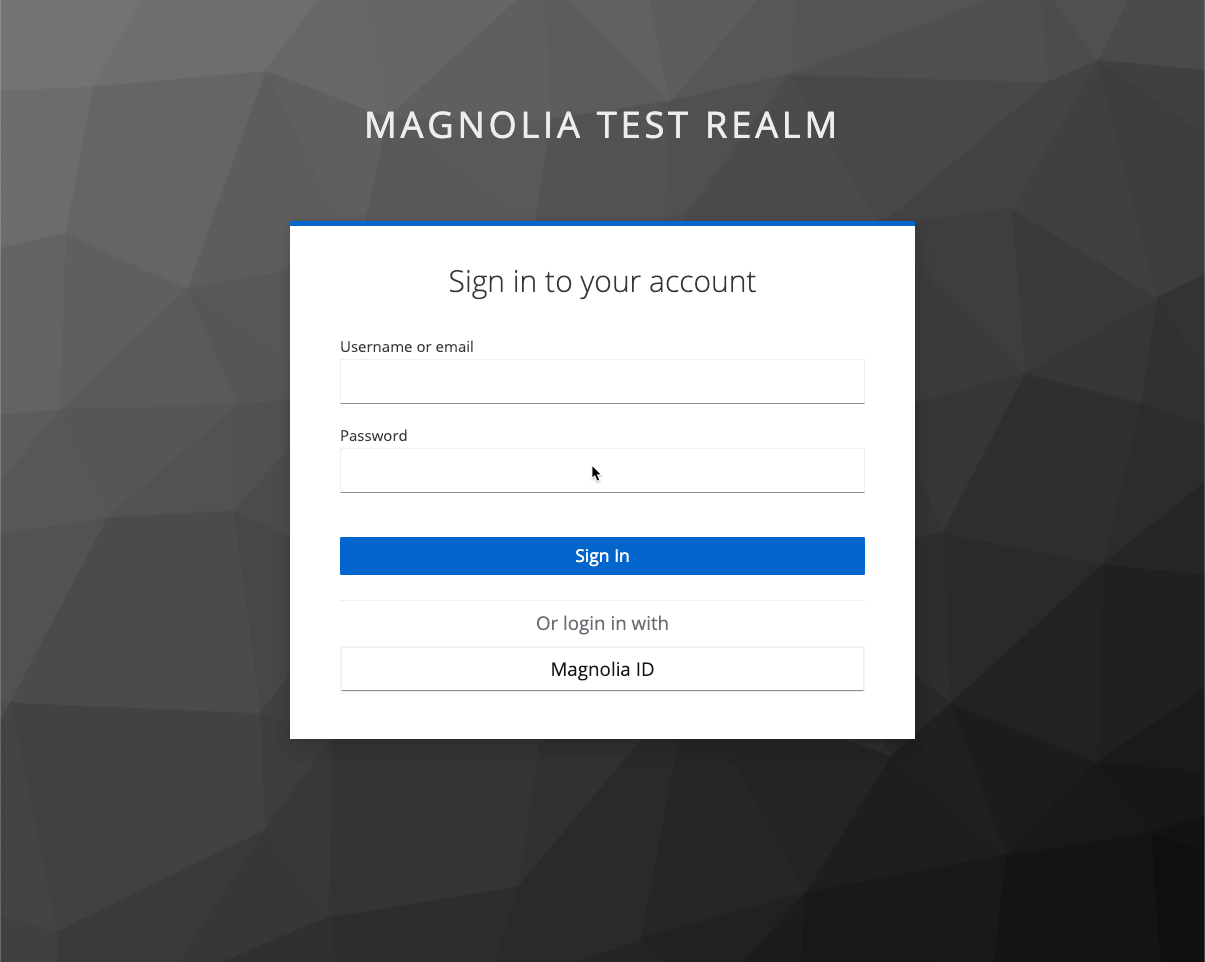
Verifying your changes
If necessary, restart the Keycloak container and navigate to the login page. You should see the new button with your custom redirect link.
| Download the complete source code for the custom-theme. |