Magnolia four-eye workflow
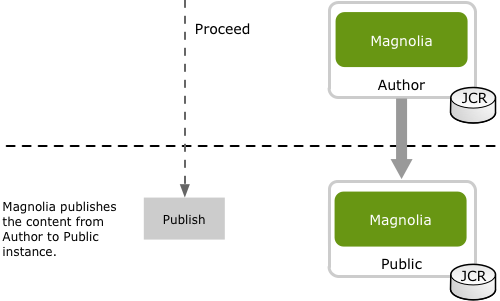
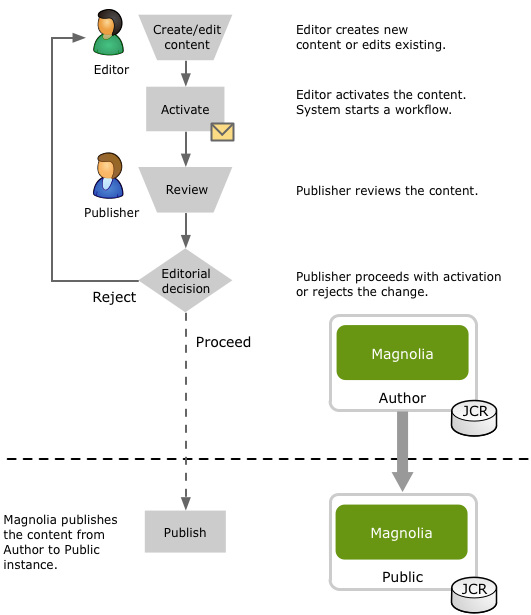
The Workflow module provides a four-eye content approval workflow preconfigured in the Pages app. The term "four eye" comes from the fact that an editor creates the content before a publisher approves it. In a standard workflow, the publisher can approve or reject content after review. In case of rejection, the workflow will enter a revision cycle where the editor is informed about reasons for rejection.
The four-eye workflow can best be understood using a diagram. Here we see the previously mentioned editor (Eric) and publisher (Peter).
Creating content
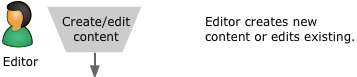
Whenever content is created or updated it’s common for that content to go through an approval workflow before making it to public. That might involve creating a brand new page or updating an image or adding a new entry into a content app or something else.
|
Remember the workflow is only configured on the Pages app. However, it can be configured on the Assets app or any content app. See Enabling workflow in content apps. |
Let’s look at the example of creating a new page in the Pages app. Here we see Eric has created a new page named testimonials.
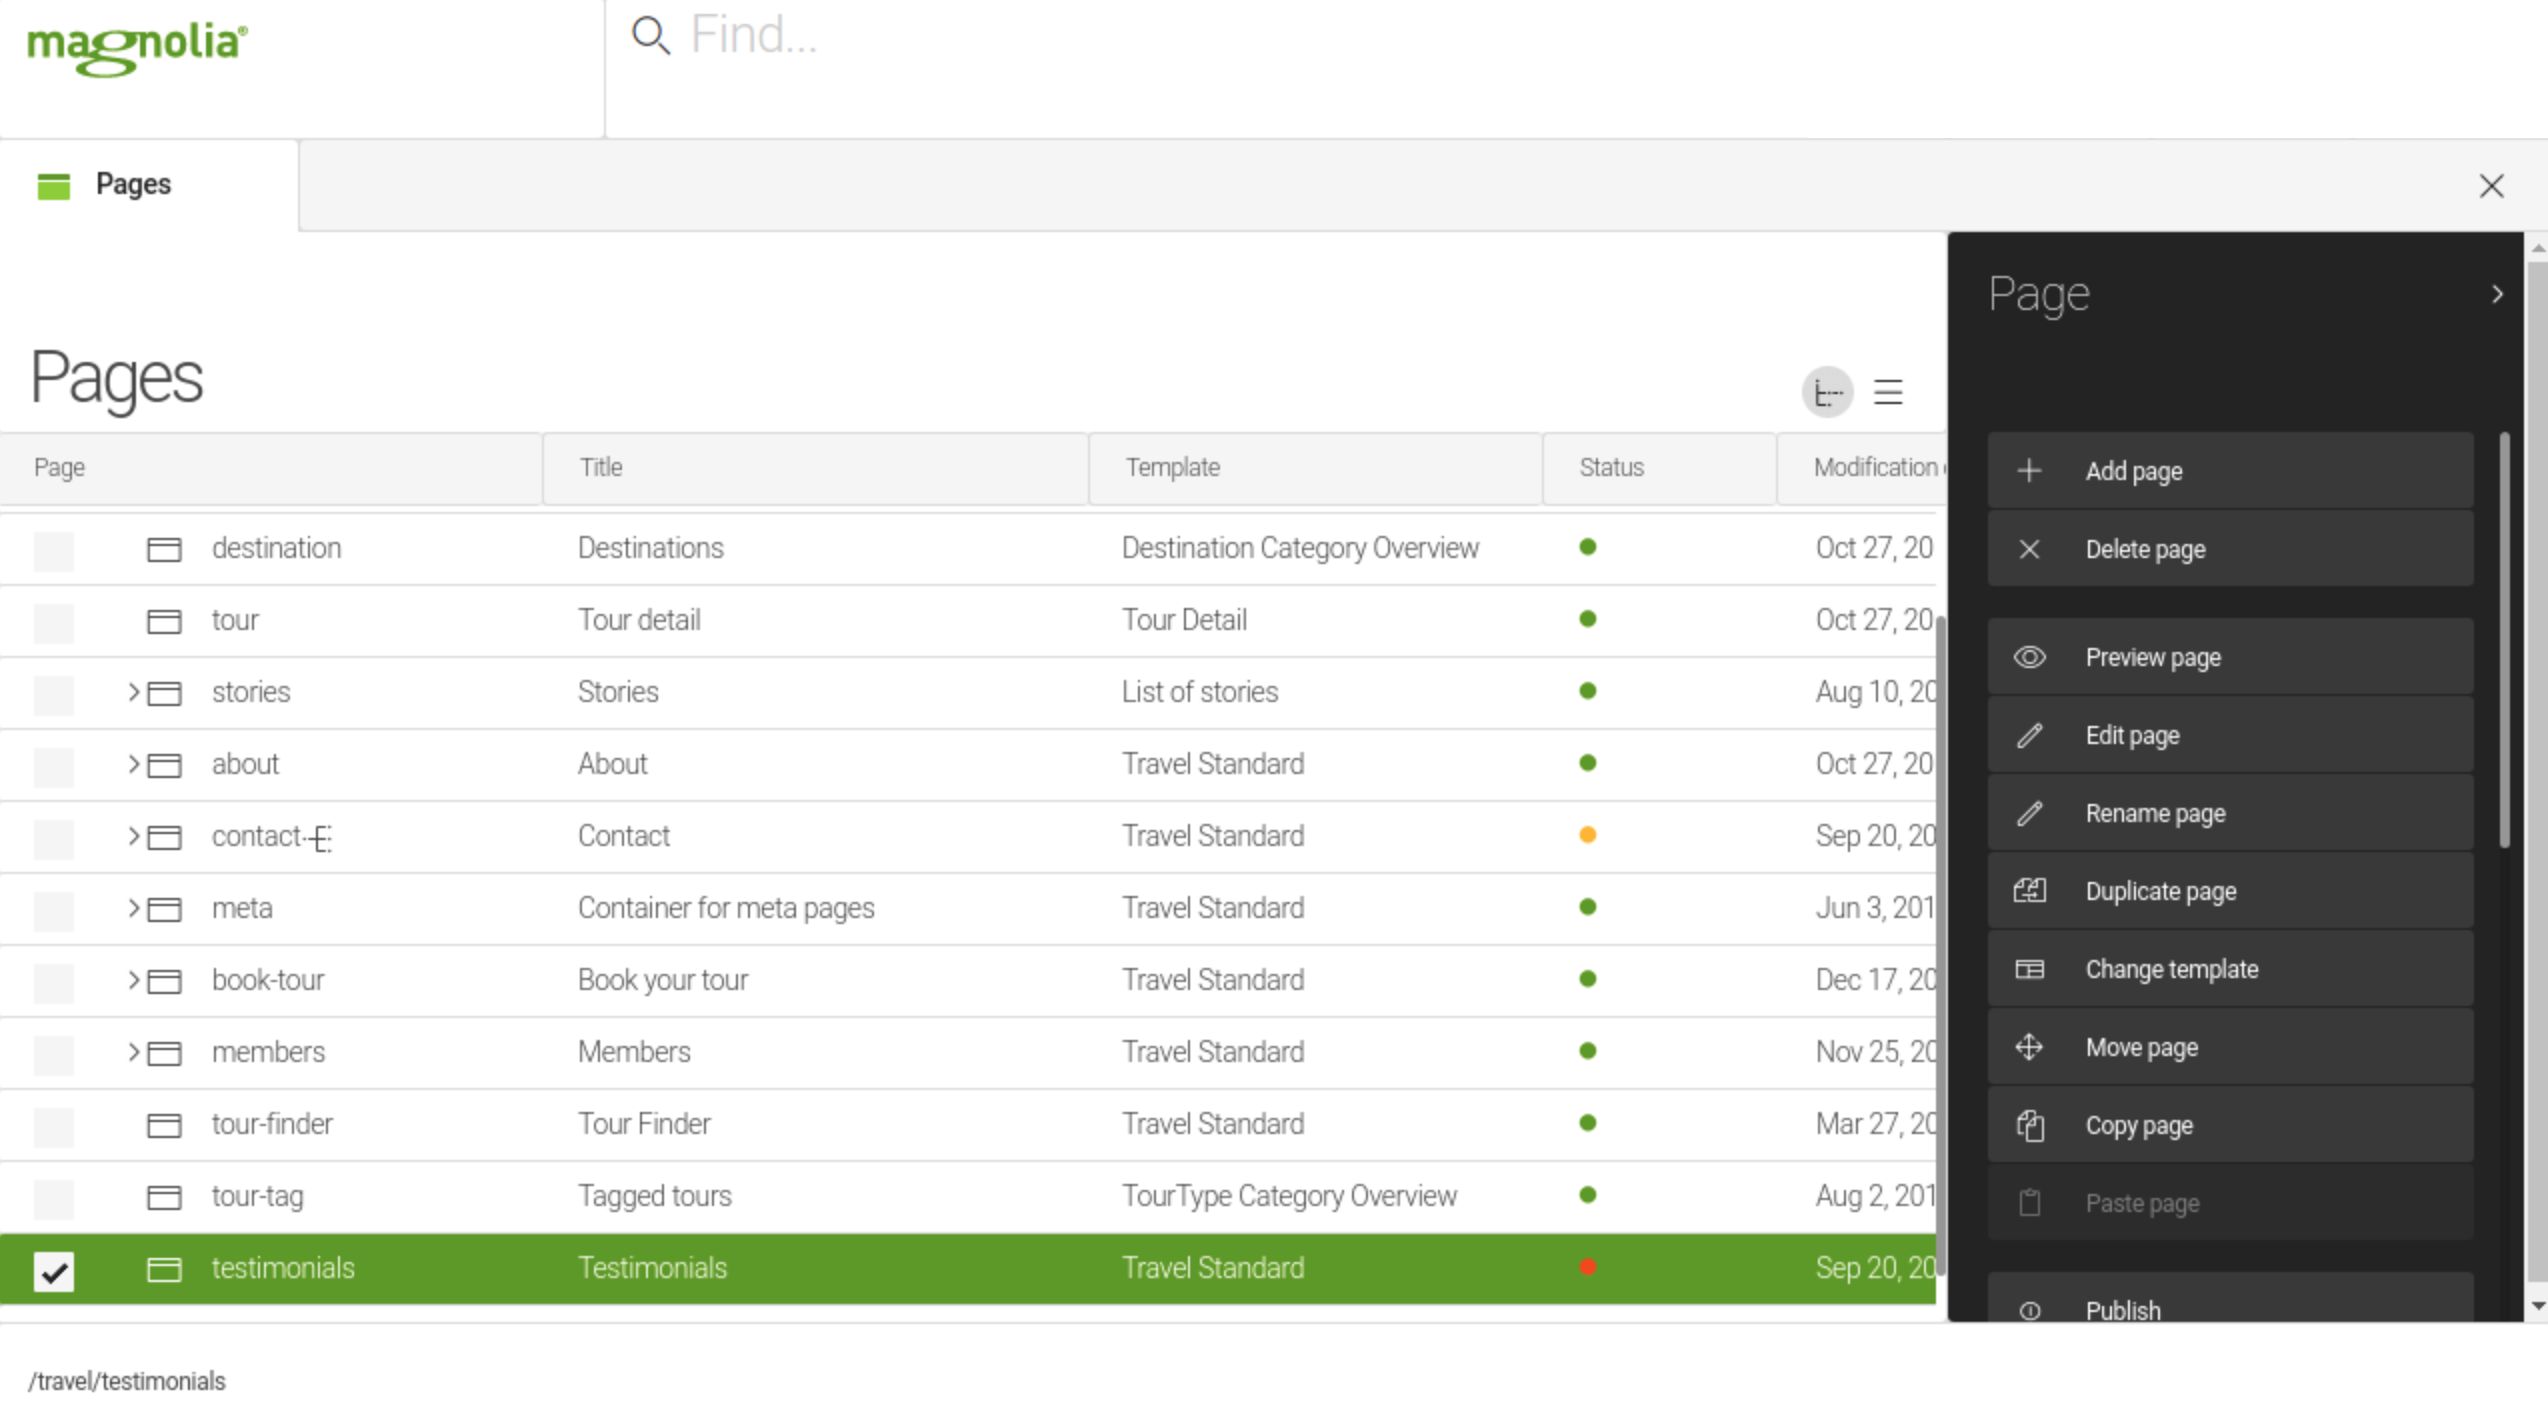
From the status column we can see the new page shows a red dot. This indicates that this page exists on author but not on public. A green dot indicates that the page exists both on author and public and they are in sync. A yellow dot indicates that the page exists on both author and public but the current state on author is different the current state on public. In other words, a yellow dot indicates the page has been edited.
Publishing content
When the page or other content has finished it’s editorial phase, it’s then time to activate that content.
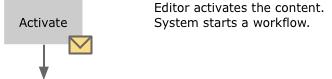
The Review for Publication workflow is initiated from the actionbar using the Publish action. This will trigger the Submit for Publication dialog. The editor can submit a comment to be seen by the publisher and schedule a publication date and time.
|
It is also possible to Unpublish a previously published page. However, this too also goes through a workflow. The steps for unpublishing are very similar to the steps of publishing. You may also a schedule the unpublication date. |
Once Eric clicks the publish button, the workflow is started and a task is created for members the publishers group.
Groups for publication tasks are configured in /modules/workflow-jbpm/tasks/publish/groups
|
Tasks are used when there is a human interaction needed with the system. Magnolia registers the tasks publish and unpublish in the workflow jbpm integration module. These tasks are defined in configuration but used by the workflow. The workflow will call them by name and use the parameters set as properties.
| With the Publication Task Config module (an incubator level module) you can configure publishing groups based on different paths and workspaces. |
Reviewing content
Before content goes public, it must be reviewed.
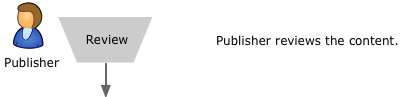
When Peter (the publisher) logs in, he is informed that the system has registered a new task.
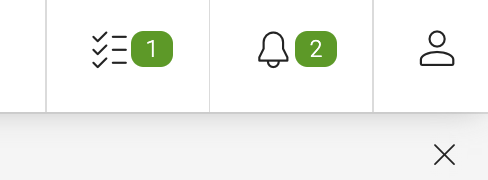
If he opens the Tasks app, he sees a new task created by Eric. Double-clicking the task shows the details in the message view and the actions that can be performed on the task.
From this message view a user can take these actions:
| Action | Description |
|---|---|
Assign to me |
Tasks have a clear status and an assignee. To take any further action on the task you must first assign it to yourself.
|
Preview page |
Look at the content before making a decision to approve/reject/abort. |
Show changes |
Compare the content to previous versions |
The message view shown above is configured in the Pages app (/modules/pages-app/messageViews/publish). There is a message view configured for publish and unpublish in the Workflow module (/modules/workflow/messageViews/publish).
|
If you add workflow to a content app, then you will want to create a message view for it. |
The message views are configured for the task in /modules/workflow-jbpm/tasks/publish/viewMapping. The viewMapping configuration tells the system which messageView to display when viewing the task details. This is configured per workspace or using a default.