Hi Magnolia

Hi Magnolia

This absolute beginner’s tutorial is an abridged version of Hello Magnolia, with the functionality limited to the bare minimum required to put together a web page using simple commands and pre-configured components.

You’ll learn what those components are and where to put them to produce this simple web page.

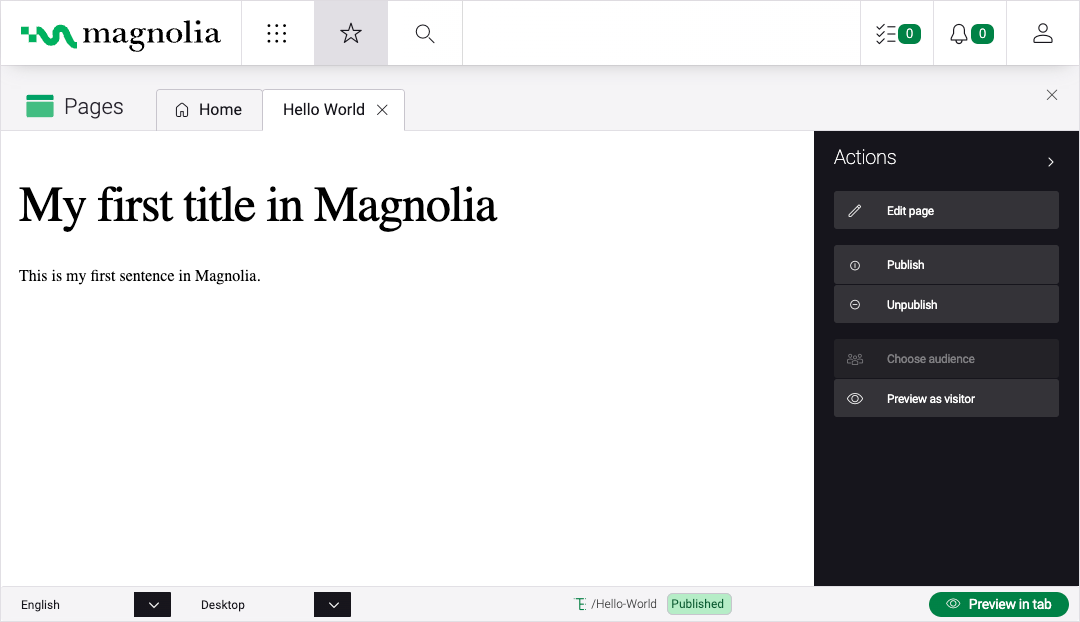
A preview of the finished page.

Page preview

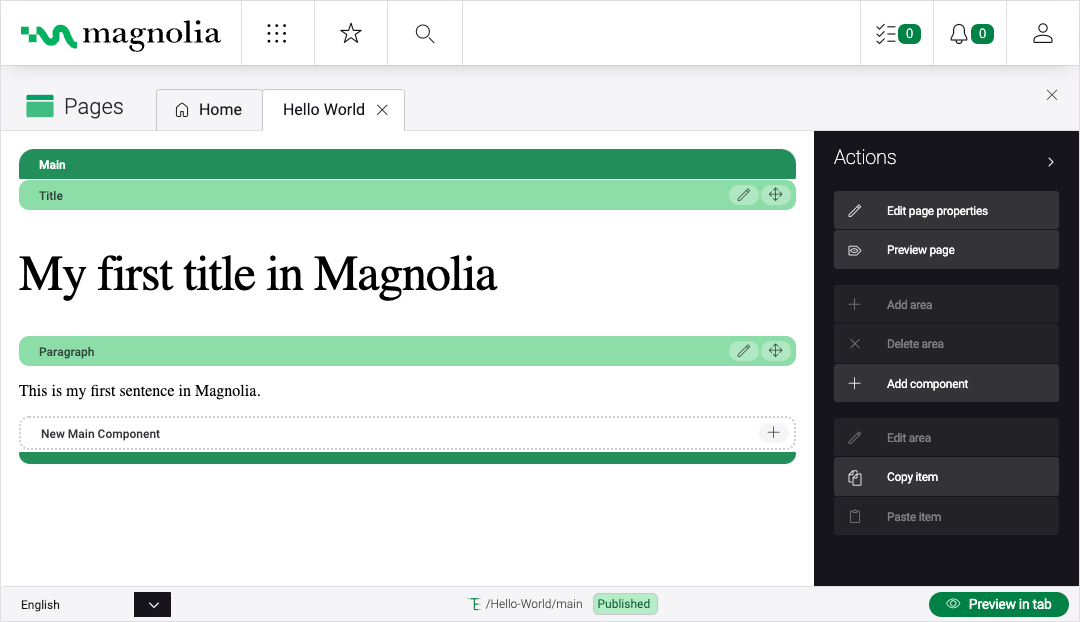
In page edit view, you’d see green component bars.

Editing a page

This tutorial is based on version 5 of Magnolia CLI.

Prerequisites

  • First, you’ll need to get Magnolia if you haven’t installed it already.

What are we going to do?

Tutorial overview

  • We’ll locate the light module folder in the Magnolia installation directory.

  • Then, we’ll add page and component templates in subfolders.

  • Next, we’ll add dialog files in subfolders.

  • Finally, we’ll create a page using the dialogs and templates from the previous steps.

Key
  • ๐Ÿ“ You’ll create one folder.

  • ๐Ÿ“๐Ÿ“ You’ll create two folders.

  • ๐Ÿ“„ You’ll add one file into a folder.

  • ๐Ÿ“„๐Ÿ“„ You’ll add two files into a folder.

  • โค“ You’ll need to download one file.

  • โค“โค“ You’ll need to download two files.

Setting up templates and dialogs

Steps and explanations Folders and files
  1. Find the light-modules folder inside the Magnolia installation directory. For example purposes, let’s say you named the installation folder magnolia.

    The CLI v5 npx @magnolia/cli jumpstart command created the light-modules for you when installing Magnolia.

    Your Magnolia installation continually monitors the light-modules folder, and any folders or files created there are added to the definitions available in Magnolia.

The default root folder structure after installation with Magnolia CLI v5 is below.

๐Ÿ“ magnolia

     ๐Ÿ“ apache-tomcat

     ๐Ÿ“ light-modules

     ๐Ÿ“ node_modules

  1. Creating the hi-magnolia module folder, a template folder and adding template files.

    1. ๐Ÿ“๐Ÿ“ In light-modules, create the hi-magnolia subfolder and then the templates folder inside it.

    2. ๐Ÿ“ In templates, create another subfolder called pages.

    3. ๐Ÿ“„๐Ÿ“„ Add both page template files โค“โค“magnolia123.yaml and magnolia123.ftl.

      Page templates (files with the .yaml extension) contain details about areas on a page and how pages are turned into HTML.

      Template scripts (ones with the .ftl extension) turn those templates into final HTML page files.

๐Ÿ“ light-modules

     ๐Ÿ“ hi-magnolia

         ๐Ÿ“ templates

             ๐Ÿ“ pages

                 magnolia123.yaml

                 magnolia123.ftl

  1. Creating the component template folder and files.

    1. ๐Ÿ“ Create the components subfolder inside the templates folder.

    2. ๐Ÿ“„๐Ÿ“„ Add the paragraph component files โค“โค“paragraph.yaml and paragraph.ftl inside it.

    3. ๐Ÿ“„๐Ÿ“„ Add the title component files โค“โค“title.yaml and title.ftl inside it as well.

      Component templates refer to single components on a page such as text, images, and links, much in the same way page templates refer to areas as a whole.

๐Ÿ“ hi-magnolia

     ๐Ÿ“ templates

         ๐Ÿ“ components

             paragraph.yaml

             paragraph.ftl

             title.yaml

             title.ftl

  1. Creating the dialog folders and files.

    1. ๐Ÿ“ Create the dialogs subfolder inside the hi-magnolia folder.

    2. ๐Ÿ“๐Ÿ“ Under that, create two subfolders, components and pages.

    3. ๐Ÿ“„๐Ÿ“„ Copy the component dialog files โค“โค“paragraph.yaml and title.yaml into the components folder, as depicted on the right.

    4. ๐Ÿ“„ Copy the page dialog file โค“magnolia123.yaml into the pages folder, as depicted on the right.

      Dialogs are how authors enter content into Magnolia.

      Dialog definitions specify editable fields where editors can add or update the content itself. In addition, they may define operations that authors can do on the content, for example, commit or cancel.

๐Ÿ“ hi-magnolia

     ๐Ÿ“ dialogs

         ๐Ÿ“ components

             paragraph.yaml

             title.yaml

         ๐Ÿ“ pages

             magnolia123.yaml

Creating a page with dialogs based on templates

  1. Start up your Magnolia instance.

  2. Log in and open the Pages app.

  3. Create the page that is displayed at the beginning of this tutorial:

    1. Click Add page in the Action bar on the right.

    2. In the Add page dialog, call the page Hello World, choose the hi-magnolia template for it, and click Next:
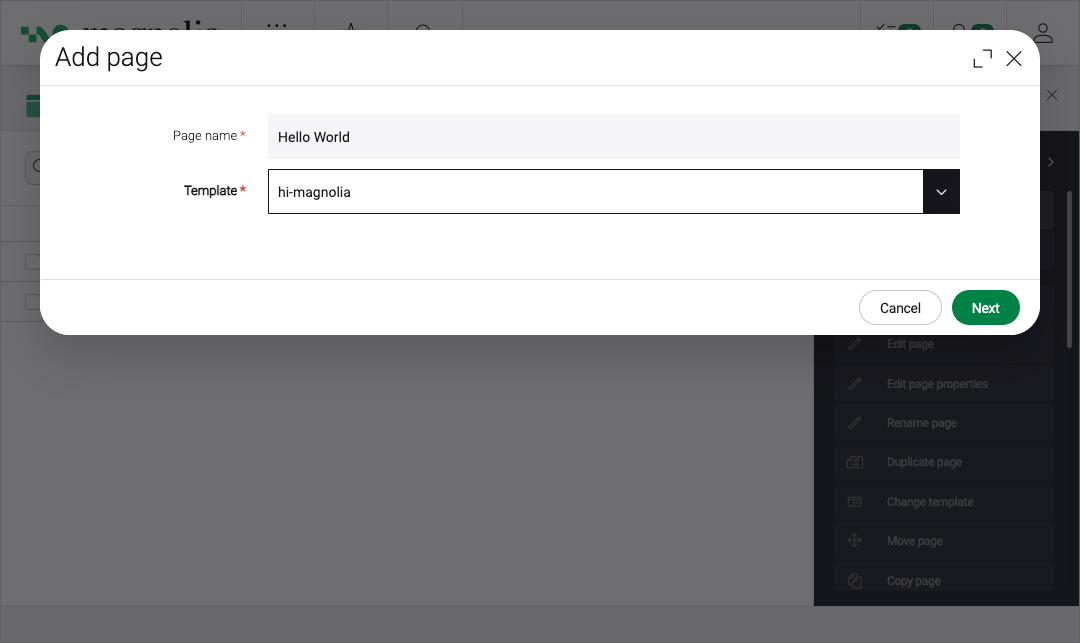
      Add page dialog

    3. In the My first Magnolia page dialog, enter also Hello World in the Page name field and click Save changes.

    4. Click Edit page in the Action bar on the right.

    5. Start adding components to the page. Click the plus button in the New Main Component bar.

      1. In the Add component dialog, select the Title option and hit Next.

      2. In the Title dialog, write "My first title in Magnolia" and click Save changes.

    6. Click the New Main Component plus button again.

      1. In the Add component dialog, select the Paragraph option and press Next.

      2. In the Paragraph dialog, write "This is my first sentence in Magnolia." and click Save changes.

Publishing the page

To publish the page to the public instance:

  1. Go back to the page browser view of the Pages app.

  2. Select the page and click Publish in the Action bar on the right.

Excellent.

You’ve created and published your first Magnolia page with two components in it.

Feedback

DX Core

×

Location

This widget lets you know where you are on the docs site.

You are currently perusing through the DX Core docs.

Main doc sections

DX Core Headless PaaS Legacy Cloud Incubator modules