SSO clients deep dive
Add configuration
To add an SSO client configuration:
-
Go to Admin > SSO clients.
-
Click Add.
-
Choose your desired Environment in the dropdown menu. You must only create one SSO client per environment (e.g., production, integration).
-
Click Enabled.
-
If desired, add redirect URLs.
-
Add the allowed CORS origins.
CORS restrictionsWeb origins must be listed in the SSO client configuration to allow cross-origin requests.
If your Magnolia instance is hosted at https://example-magnolia.com and you have a front-end app at https://frontend-app.com, you might configure the following web origins in the SSO client (e.g., in Keycloak):
-
https://example-magnolia.com
-
https://frontend-app.com
This ensures both domains can participate in the SSO authentication flow without being blocked by CORS restrictions.
-
-
Add the Base URL.
The default URL to use when the auth server needs to redirect or link back to the client.
-
Add any Magnolia roles you want mapped in the SSO module.
-
Click Add.

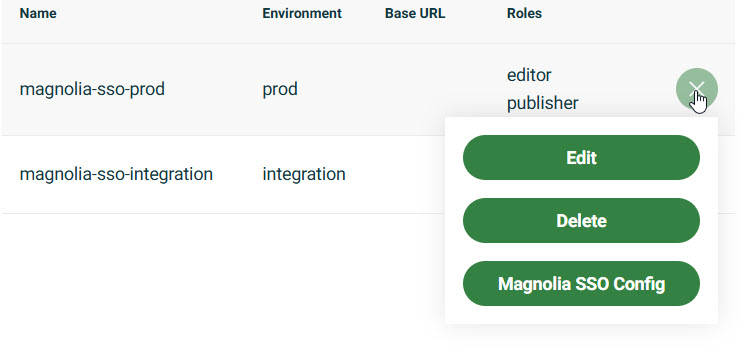
Magnolia SSO Config
Once you have configured your SSO client:
-
Go to your SSO client configuration in the SSO Client Config table.
-
Click the three bars .
-
Click Magnolia SSO Config to get your full Magnolia SSO module
.yamlconfiguration. You can copy and paste the configuration directly into your SSO module. For detailed information on SSO module configuration, see Magnolia SSO module: Configuration.