How to work with images using imgfn
This page explains how to work with images using
imgfn
templating
functions in template scripts. With imgfn you can get an image from
any JCR workspace.
If you manage your images with the Magnolia
Digital
Asset Management module, we recommend using damfn. For more
information, see
working
with images using damfn.
Imaging modules
If you use a Magnolia bundle, the required and optional modules are already included.
If you created a custom webapp, add the following modules in the POM file of the webapp of your bundle. The modules may have dependencies to other modules but these dependencies are handled by Maven dependency management.
Uploading the image with a basic upload field
With a basic upload field you can upload an image directly to the node of your context. When saving the data of the dialog, Magnolia creates a subnode of the node of your context and stores the binary data of the image as property of the subnode.
-
If the dialog is for a Component, the system creates a subnode of the component node.
-
If the dialog is for a an item of a content app, the system creates a subnode of the content item node.
Example - code fragment from a dialog definition
Form:
  tabs:
    - name: tabImage
      fields:
        - name: image
          class: info.magnolia.ui.form.field.definition.BasicUploadFieldDefinition
          binaryNodeName: myNode
In the dialog definition, you can define the value of the
binaryNodeName property (in the example the value is myNode). Keep
in mind that you must know the name of this subnode to render the image
later on.
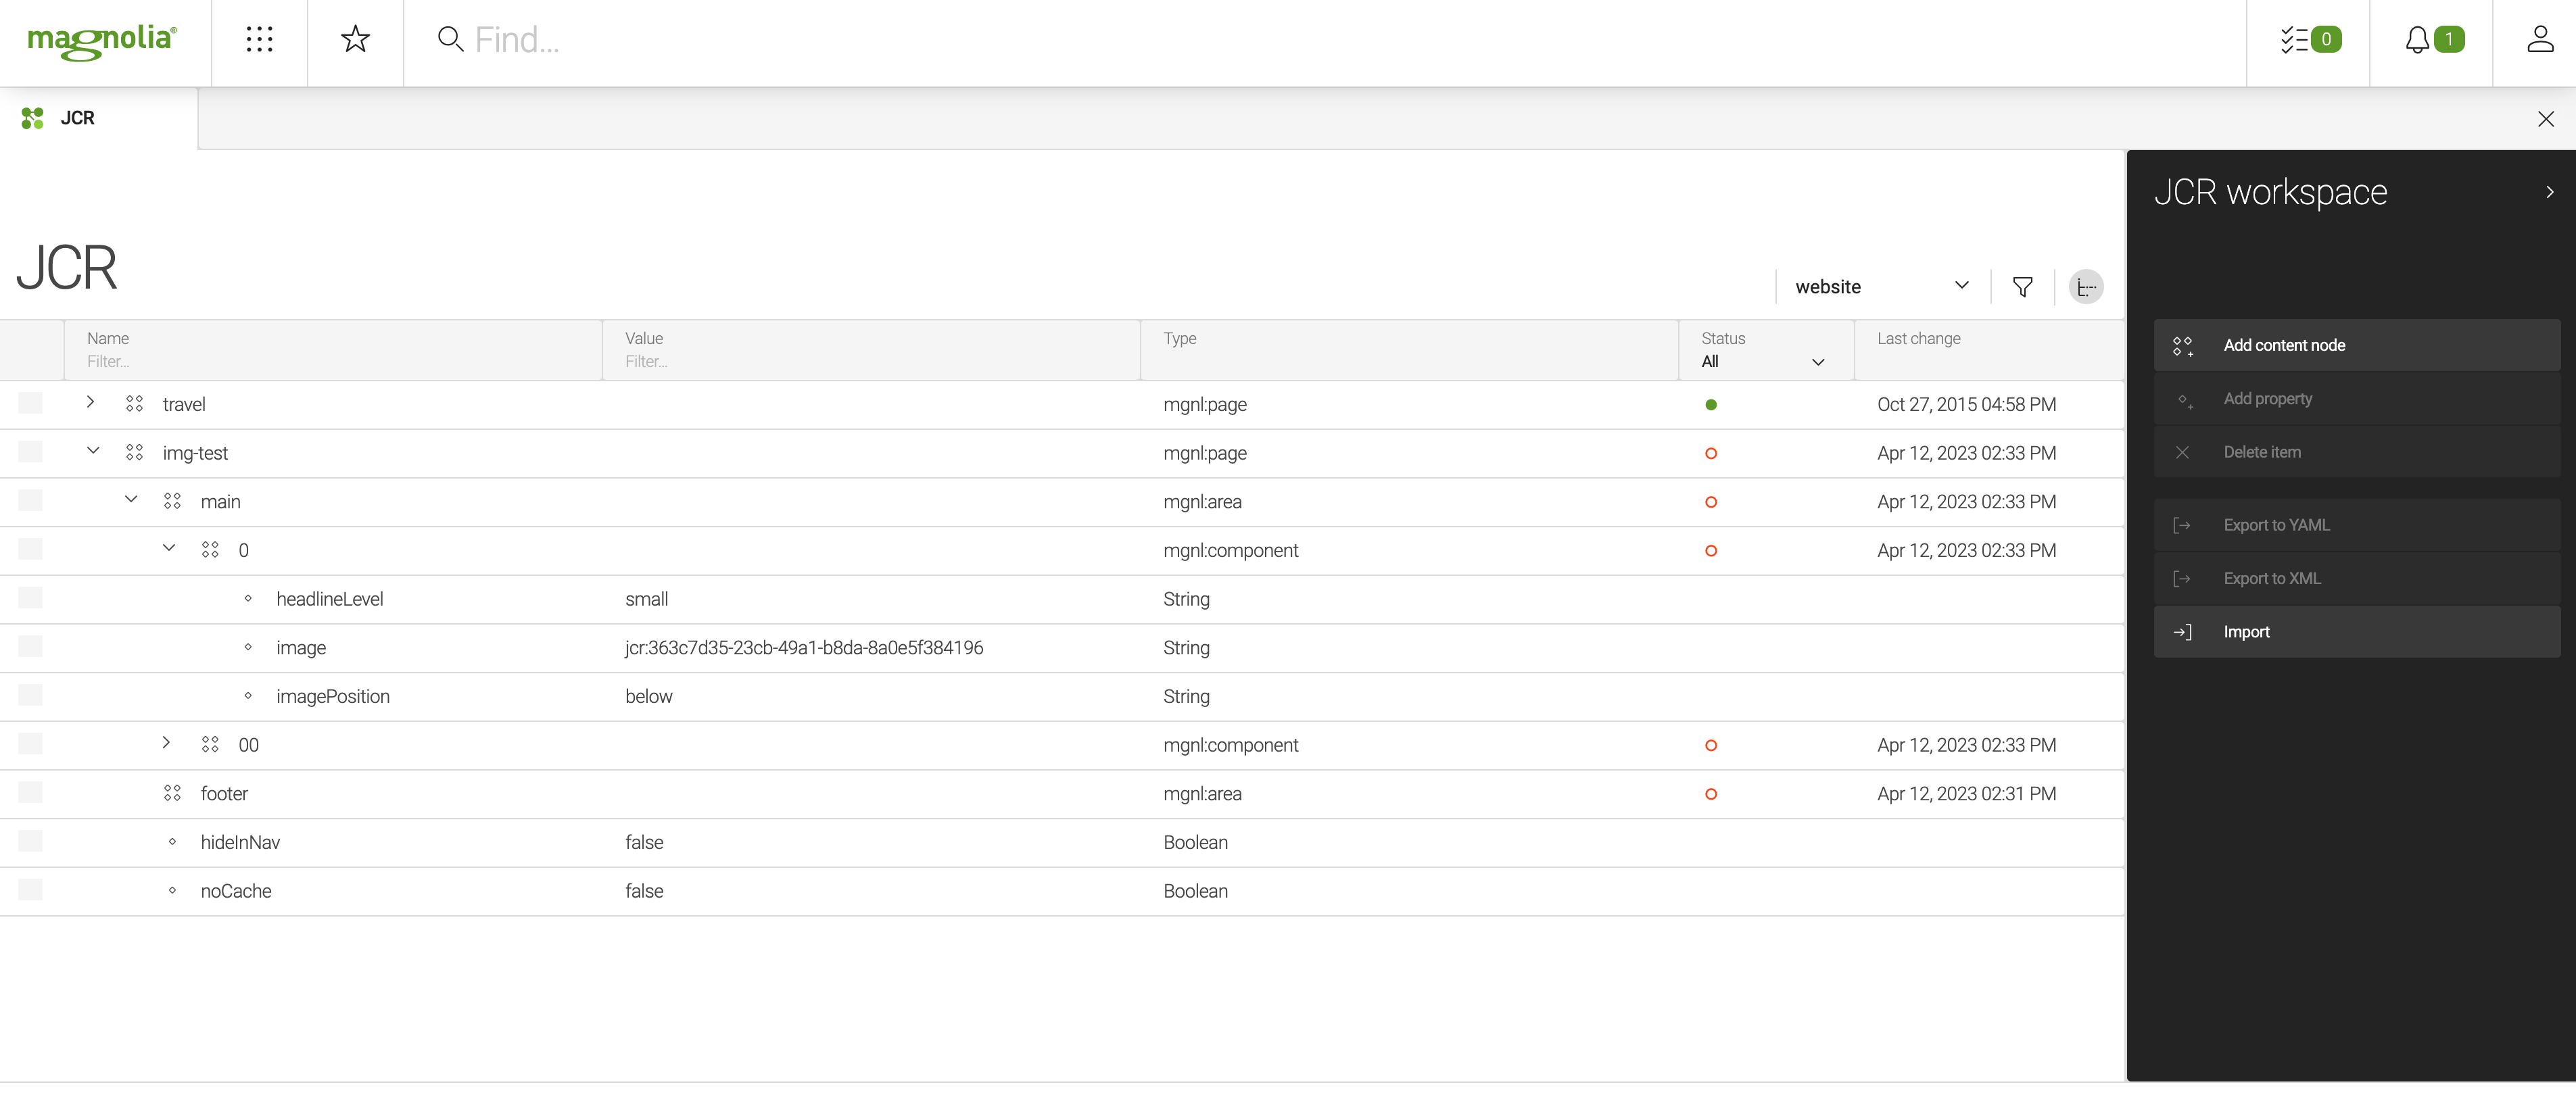
You can check the JCR node structure in in the JCR Browser app.
Displaying an image variation using imgfn
Using imgfn, you can create a link to an image stored in any workspace
as long as you know the path to the node which stores the binary data of
the image.
Look at the screenshot above showing the JCR browser. It highlights the
subnode of a component node. Within the rendering context of a component
template script you have the
content
object which is the component node. In the screenshot above, the node
with the name 0 is the content object.
To display an image, you must get the subnode of content and pass it
as argument to the imgfn templating function. You can use the same
method to get the original version of the image and to get a variation.
[#assign binaryNode = cmsfn.asJCRNode(content).getNode('myNode') /]
[#assign imgLink = imgfn.getImageVariationLinkFromBinary(binaryNode,'original') /]
[#assign imgLink240 = imgfn.getImageVariationLinkFromBinary(binaryNode,'240') /]
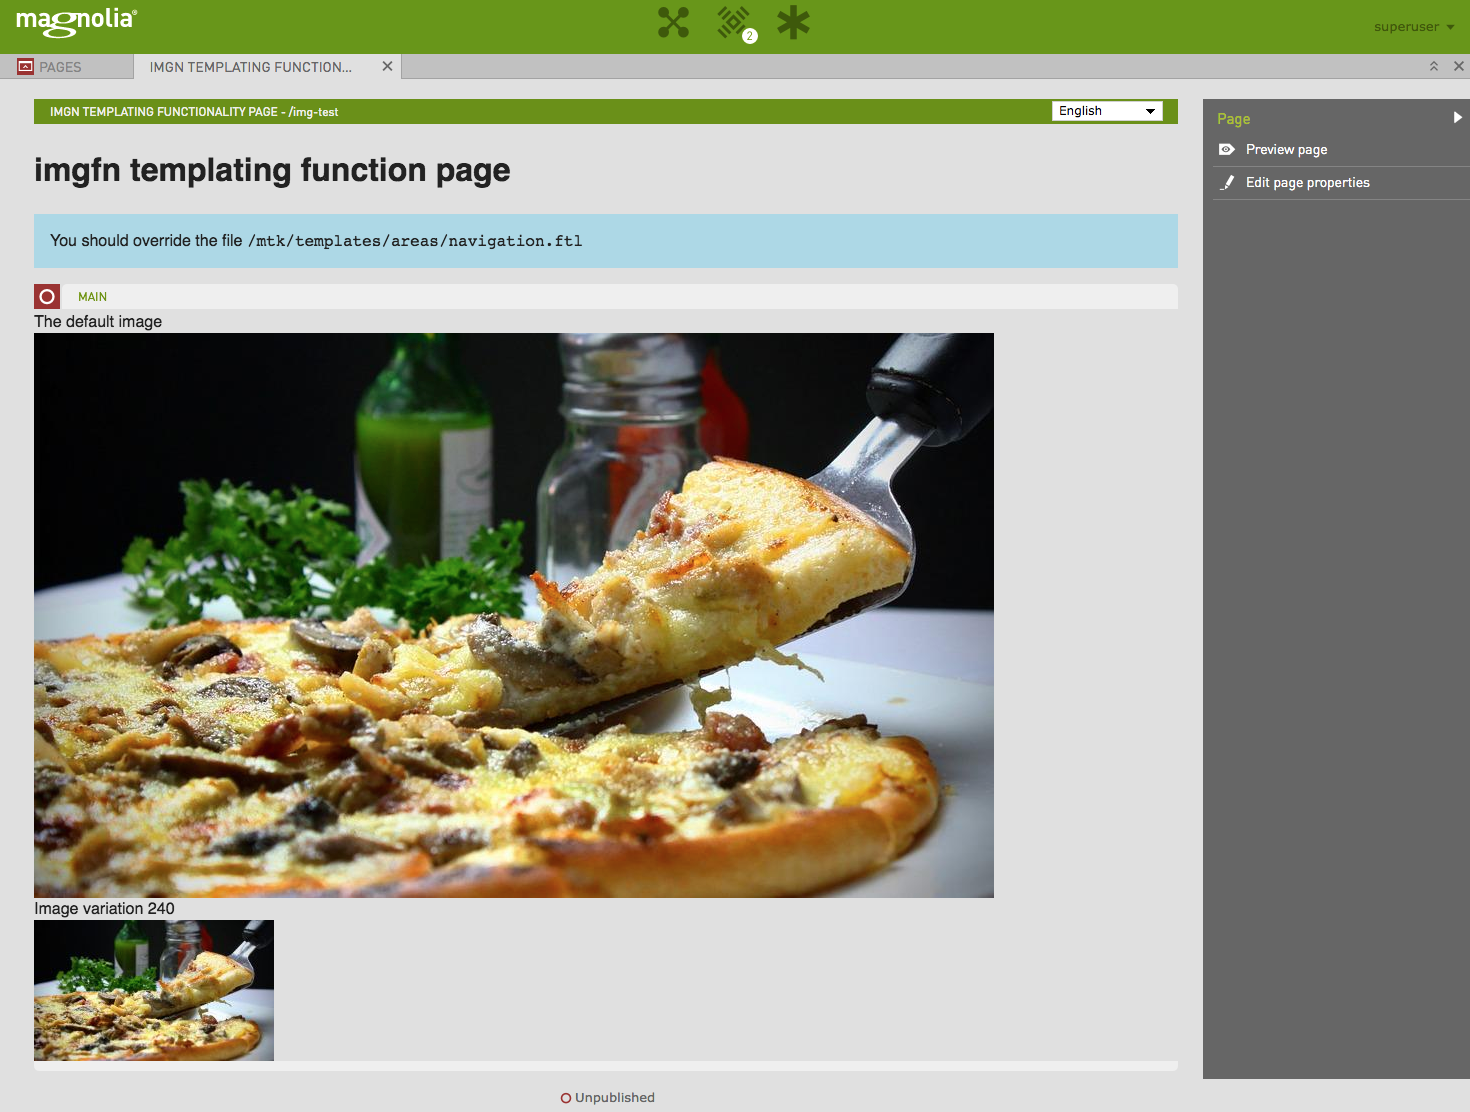
<div>
<span>The default image</span><br/>
<img src="${imgLink}"><br/>
<span>Image variation 240</span><br/>
<img src="${imgLink240}">
</div>-
Line: Get the subnode which contains the binary data. You need to know the subnode name,
myNodein the example. -
Line 2, 3: Create a link to the image. Use
originalto get the original size of the uploaded image. -
Line 2, 3: Create a link to the image. Use
240to get a link to an image variation named 240.-
Make sure the image variation you want to use is configured in your site theme. Each variation should be a node under
<my-theme>/imaging/variations.
-
Here is the rendered result of the template script snippet above: