Setting up PUR on a website
Magnolia’s Public User Registration module allows users to register an account on the public site. This page explains how to use the module to set up public user registration and protected pages that are available only to users who have registered and logged in.
The tutorial takes you through the process of:
-
Setting up pages containing the components provided by the module
-
Restricting access to certain pages to registered users only.
We use the Sportstation demo in our example. CE users can adapt the example to fit the Travel Demo or their own site.
Making PUR components available
The Public User Registration module includes all the necessary components to implement PUR on your site.
You can make the components available on any page template. The components will be used on pages for registration, login and related PUR tasks.
The Travel Demo’s Public Users template makes the components available
in main area of the page. The example uses this template. See
Area definition
for more.
| See pur.yaml for more details. |
Creating pages
Your pages can be located anywhere in the site hierarchy.
Create two sets of pages:
-
PUR pages:
-
Base these pages on your PUR template. We will add the PUR components made available above to these pages.
-
You need one page for each PUR component, for example a registration page for the Registration form component, a login page for the Login form component etc..
-
-
Restricted content pages:
-
These are standard pages. They do not rely on the functionality of the PUR module.
-
You can base these pages on any template and you add any components.
-
Example pages:
-
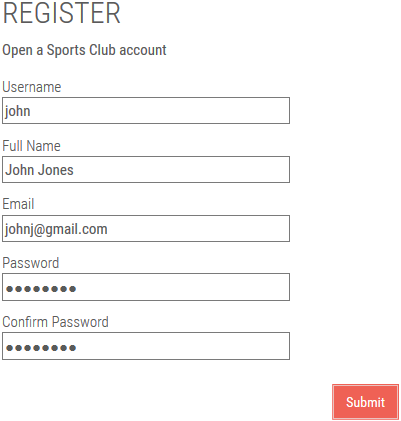
Registration: To register account (
club-registration). -
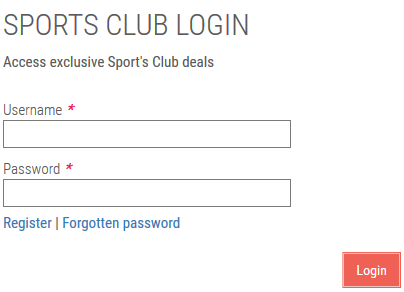
Login: To log in (
club-login). -
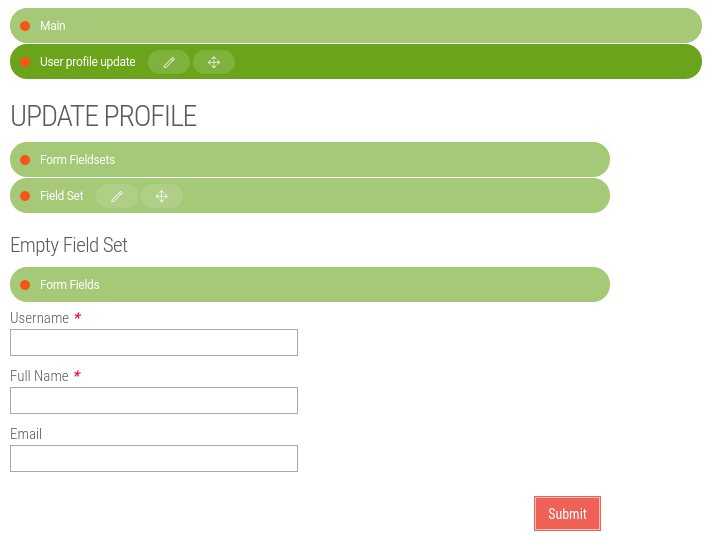
Registration update: To update user information (
update-club-profile). -
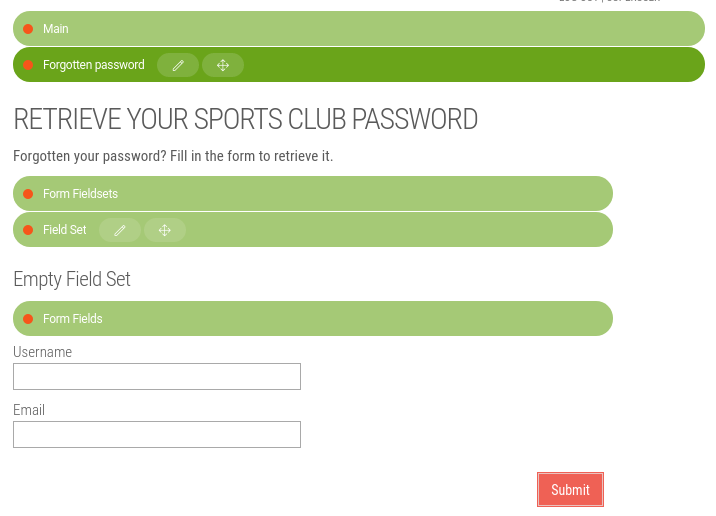
Password retrieval: To retrieve lost or forgotten password (
retrieve-club-password). -
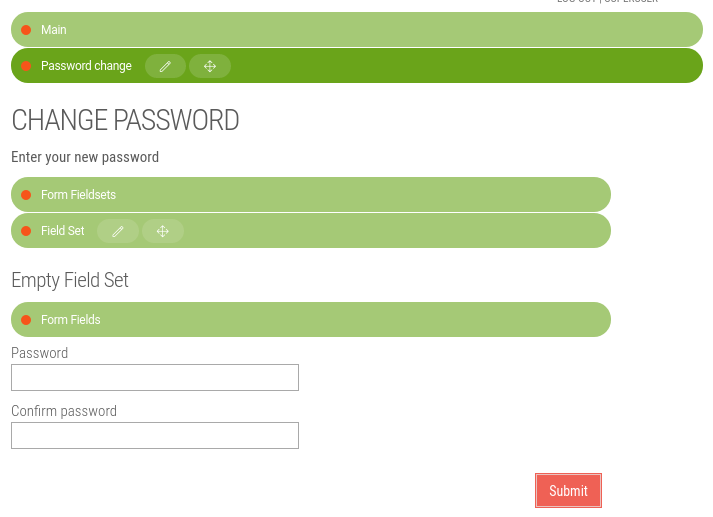
Password change: To change password (
change-club-password). -
Restricted content page or tree (
club-dealsand subpages).
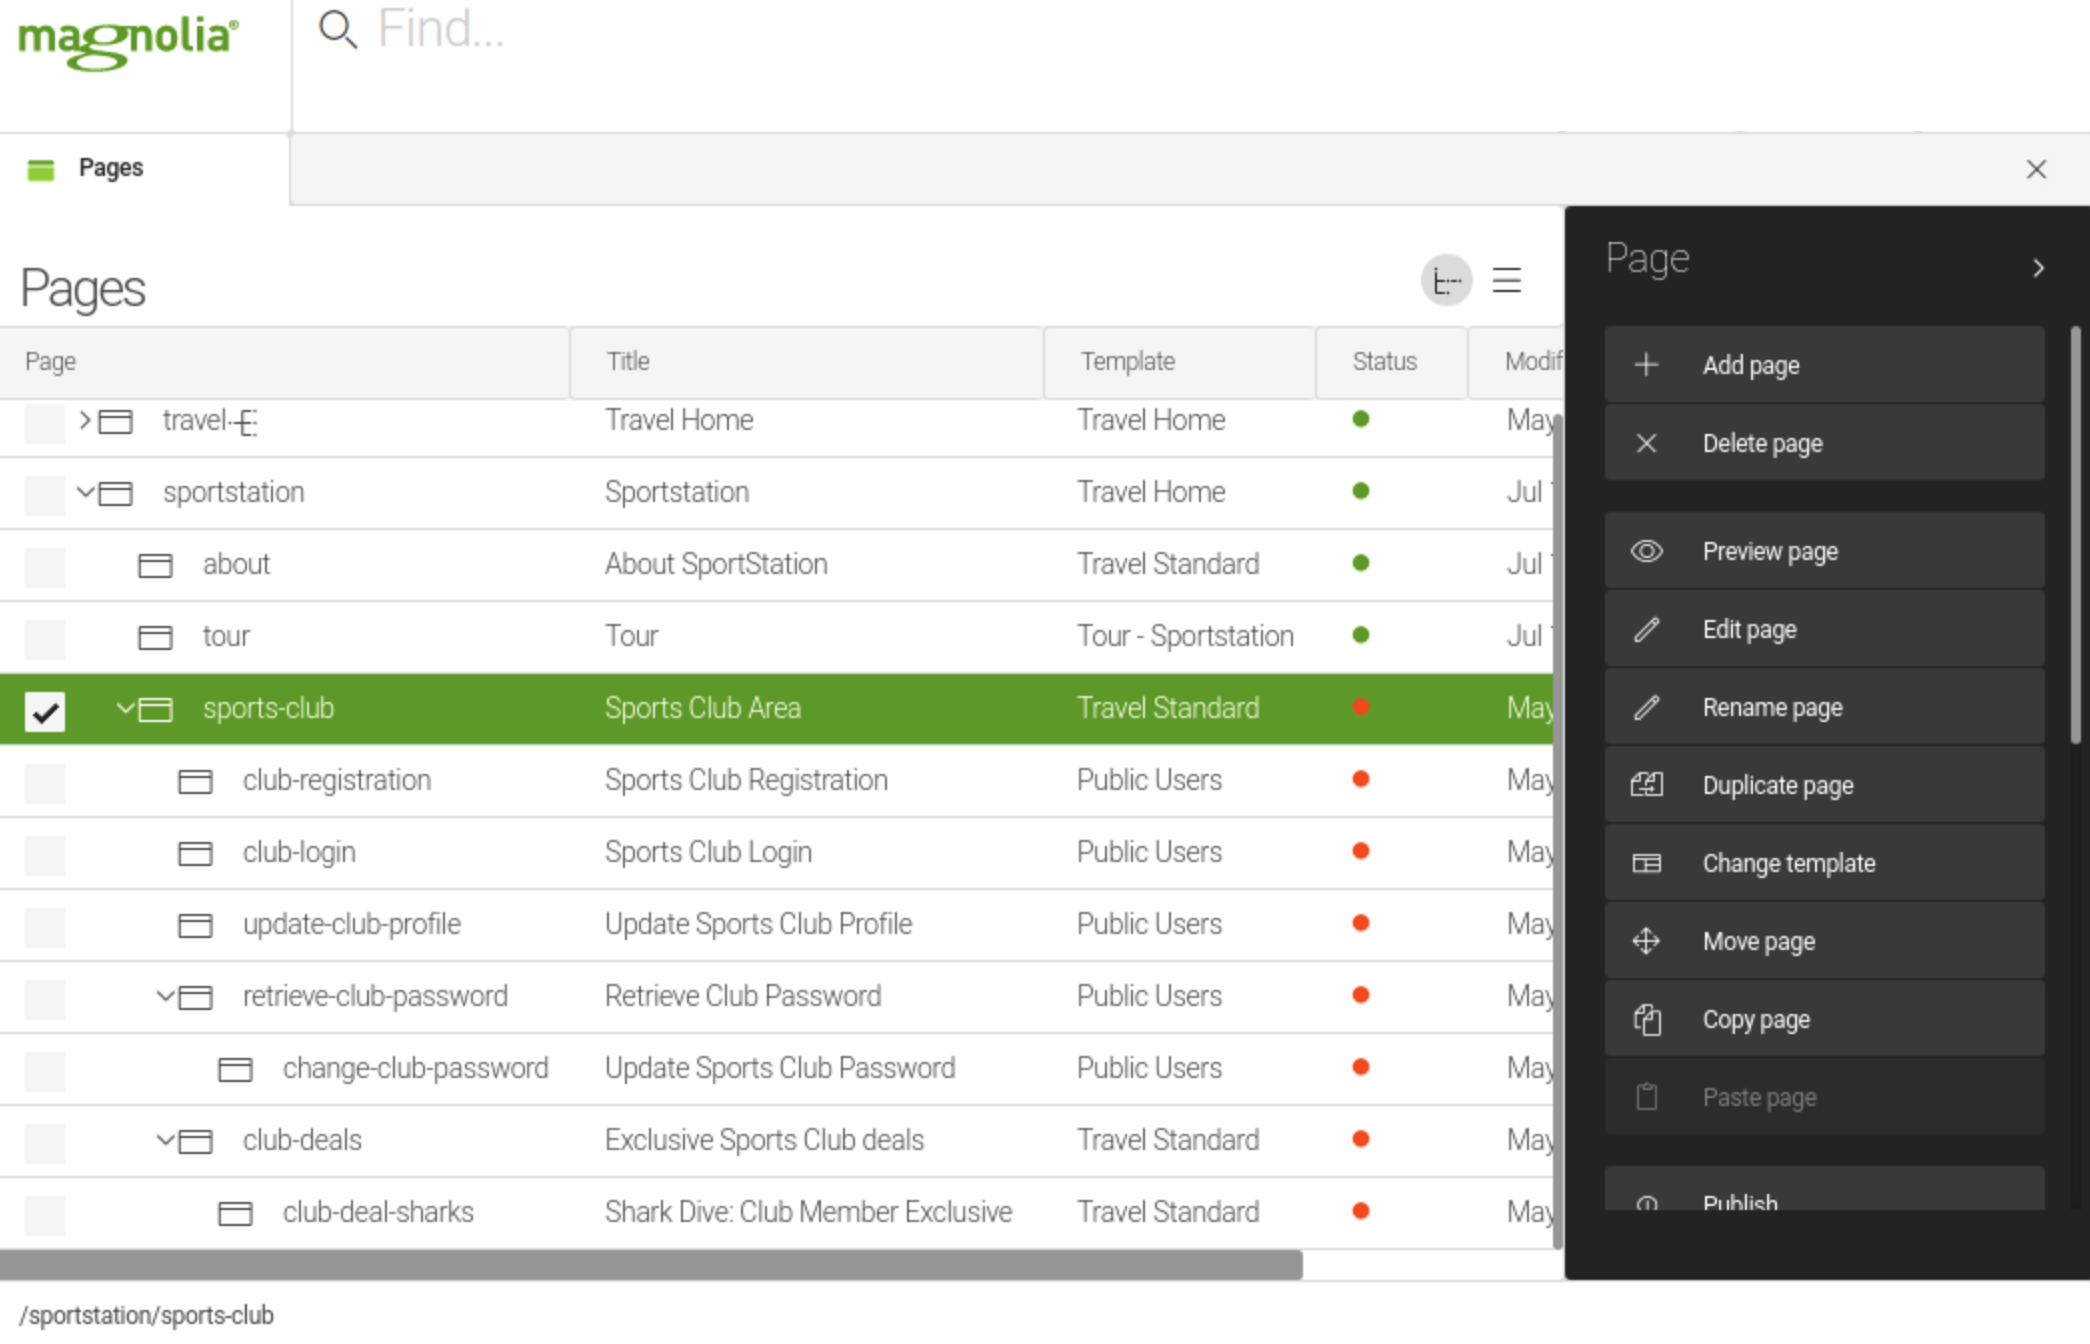
Adding restricted content
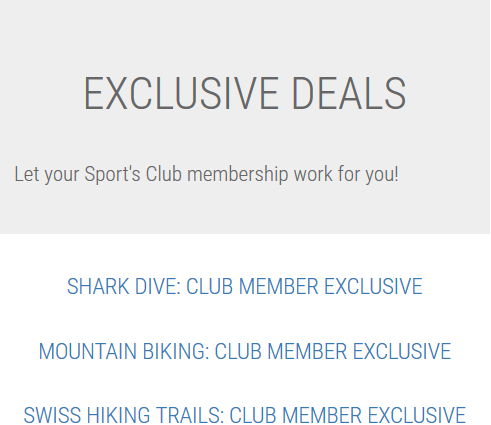
The example creates an exclusive club for registered users on the
Sportstation site. In the Sports Club area users have access to special
deals on the club-deals page and its subpages. The example uses the
Travel Standard template for these pages.
Example pages:
-
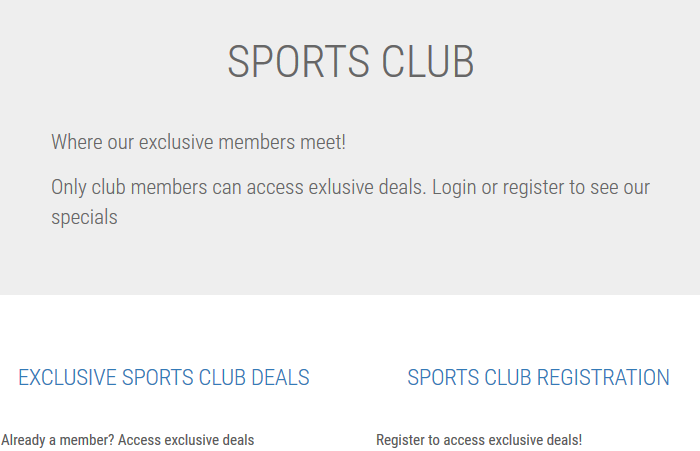
/sports-club: All public users can access this page. The teaser component on the left takes logged-out registered users to the login form and logged-in users to theclub-dealspage. The teaser component on the right takes non-registered users to the registration form page.-
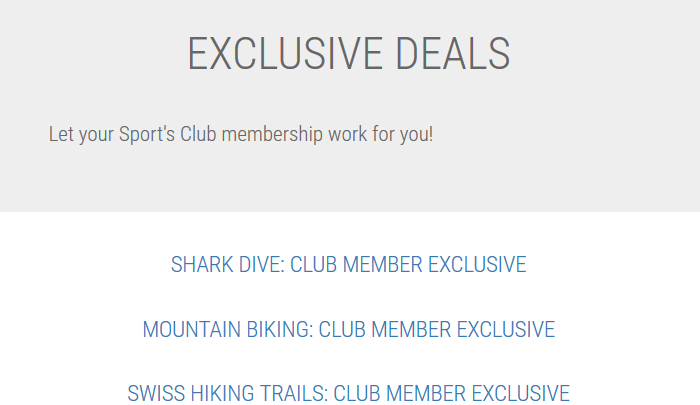
/club-deals: This page contains teasers to all available deals.-
/<deals: These are the Individual deal pages.
-
-
Adding PUR components
Open the PUR pages for editing and:
-
Add the corresponding PUR component to each page.
-
Hide the pages from navigation. You can set this in the Page properties dialog.
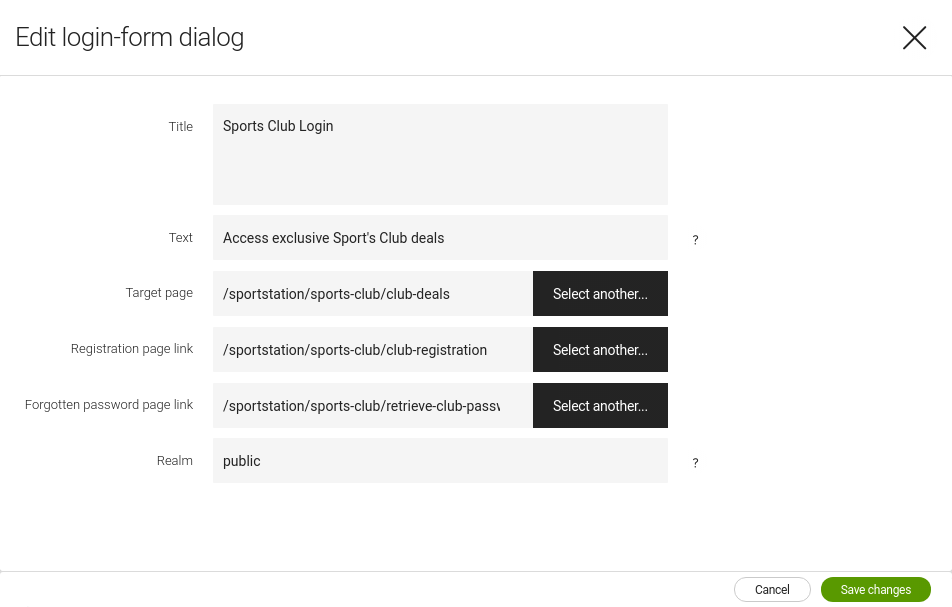
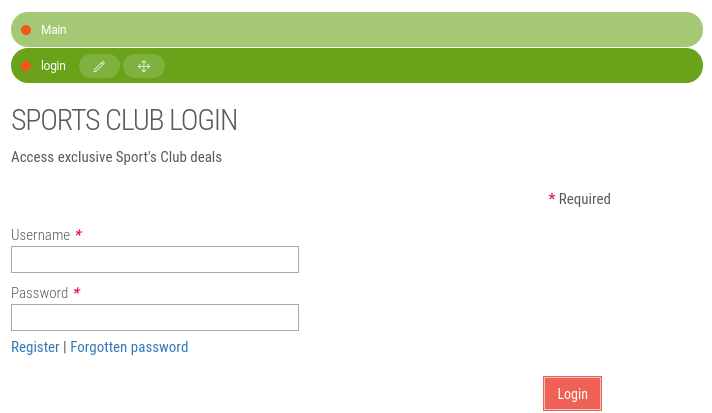
The PUR components are all forms.
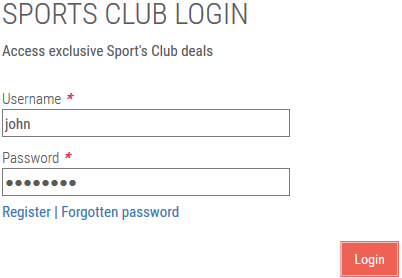
Login is delivered as a preconfigured form. In the dialog, set links to the registration and forgotten-password pages. These links display at the bottom of the form. The target page directs the user to a page after login. Set this link to the restricted-content parent page.
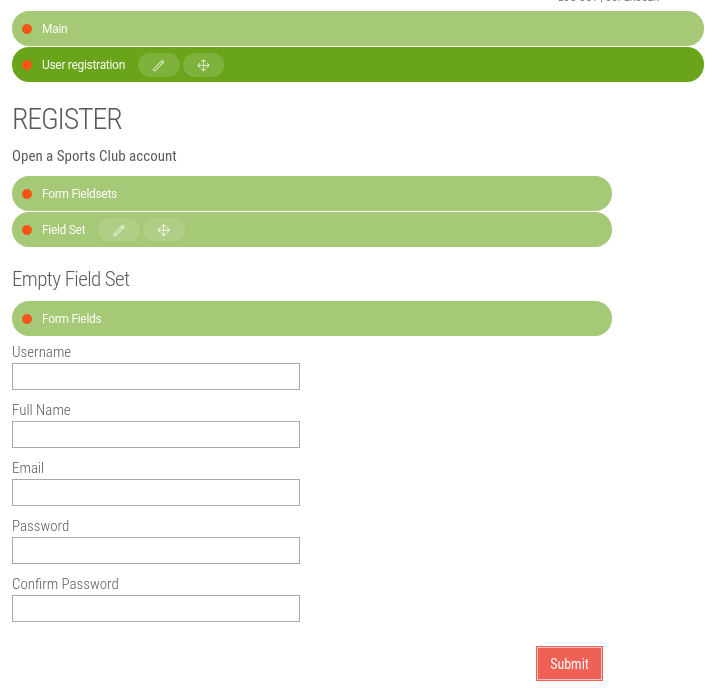
The other PUR components require form setup. See Creating a form for more.
These forms expect fields with the exact names: username, fullName,
password, passwordConfirmation and email. Use
Input fields, without
validators,
set advanced field
types to text, password and email and add a
Submit button field.
Here are the components used in the example.
Use this reference table to set up your forms:
| Component | Fields |
|---|---|
|
|
|
|
|
|
|
|
Configuring the PUR module
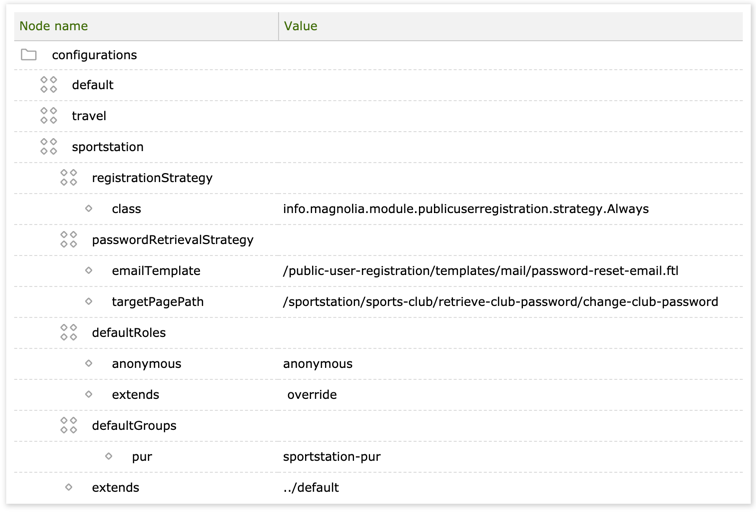
The PUR module configuration used in the example is a copy of the
travel
configuration
(that extends default) with minor changes.
-
Registration:
Alwaysregistration strategy enables users immediately. A user can access restricted content straight after registration. -
Password retrieval:
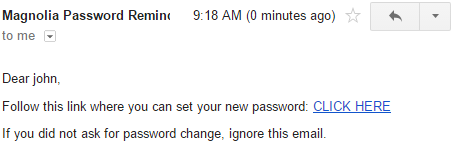
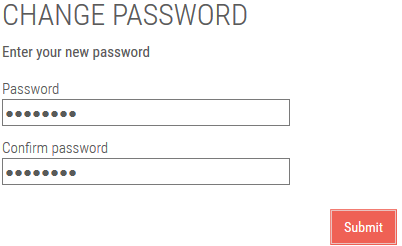
MailChangePasswordLinkStrategysends an email to the user who submits the password retrieval form. A link in the email directs the user to the example /change-club-passwordpage. -
Default group: We create the
sportstation-purgroup in Setting permissions (below). -
Default role: The configuration overrides
defaultto ensure that users assigned only theanomymousrole cannot access restricted content.
These options are configured in
/modules/public-user-registration/config/configurations/sportstation.
Publishing
At this stage, publish the work to date to the public instance. We set permissions and test the setup on the public site because this is where it will be used and anonymous users have different permissions on the author and public instances by default.
Publish:
-
Template (and availabiltiy configuration, if any).
Setting permissions
On the public instance, first restrict anonymous access to content reserved for registered users and then give registered users access to this content
Restricting anonymous access
In the Security app, edit the
anonymous role and add permissions denying access to restricted
content.
Example: Web access:
Permission |
Path |
Deny |
|
Deny |
|
Deny |
|
Deny |
|
The permissions starting with <site name> prevent cross-site access.
See Site-specific
ACLs for more.
Granting registered users access
In the Security app, create a new
role (sportstation-pur in the example) that gives access to restricted
content.
Example: Web access:
Permission |
Path |
Get & Post |
|
Get & Post |
|
Get & Post |
|
Get & Post |
|
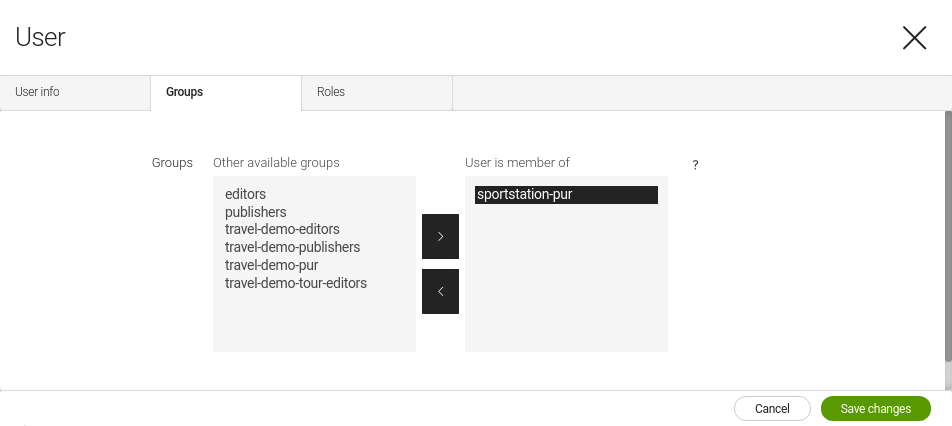
Next create a new group named after the value in the defaultRoles
configuration property
(sportstation-pur in the example) and assign the new role to the new
group. Users in this group also need other basic roles.
Example: Group role assignment.
Group |
Granted roles |
|
|
|
|
|
Adding a client callback to the security filter
Adding a client callback on the security callback filter ensures that users are redirected to the login component on a page and not to the default (green) Magnolia login screen. The redirect comes into play when a registered user logs out or an unregistered user attempts to access restricted content.
Example: sportstation-pur client callback configured in
/server/filters/securityCallback/clientCallbacks/sportstation-pur.
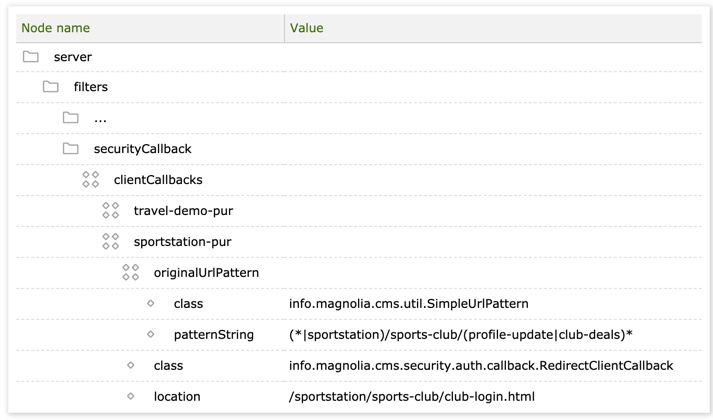
| Property | Description |
|---|---|
|
required client callback name. |
|
required Pattern node |
|
required info.magnolia.cms.util.SimpleUrlPattern matches strings
using simple |
|
required Pattern that defines the location of the restricted content that triggers the callback. See |
|
required info.magnolia.cms.security.auth.callback.RedirectClientCallback redirects to a configured path or URL. |
|
required Relative path to the login page. Add the |
Testing the PUR setup
Make sure that your SMTP
settings are configured on the public instance so that the
Mail module can send
emails. Remember to assign superuser a working email address.
-
Open the restricted content page logged in as
superuserand then log out by adding the?mgnlLogout=trueparameter to the URL. The restricted content disappears and the page redirects to the login form page configured in the security callback.
-
Click Register in the login form, register a dummy account (using a valid email address) and then login with the new credentials. The protected page (set in the Login form component) opens.
-
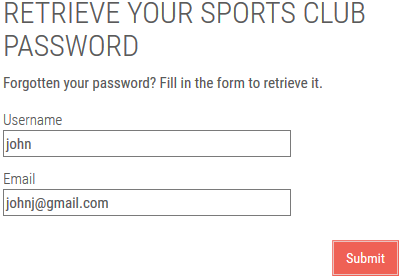
Log out as the new user, click Forgotten password in the login form and enter the dummy account username and email. The link in the password reminder email opens the password reset form page (set in
passwordRetrievalStrategyconfiguration) where you can choose a new password.
-
Log in to admincentral and launch the Security app to verify that the dummy user is assigned to the group defined in the
defaultRolesconfiguration.